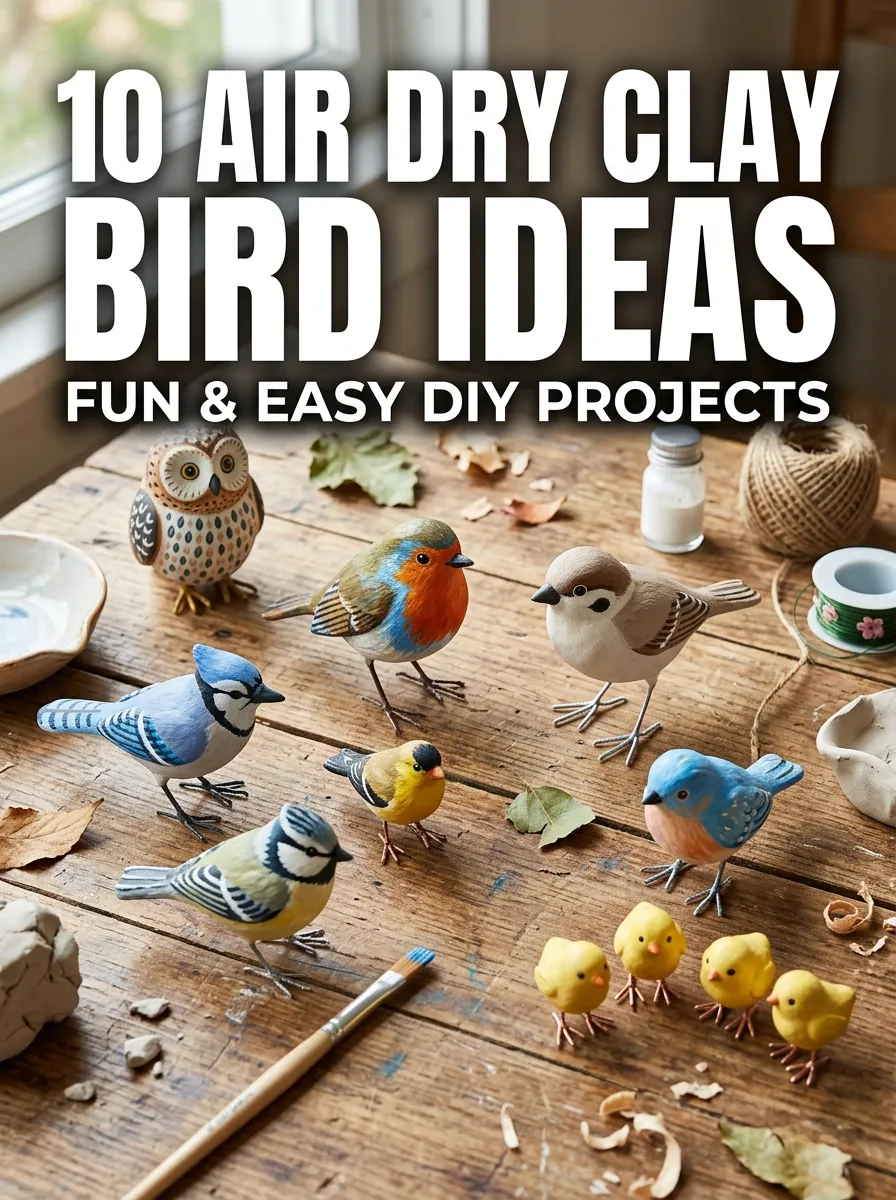
Birds have always fascinated humans with their beauty, colors, and graceful movements. Creating bird sculptures with air-dry clay is a fun and relaxing craft that allows you to explore your creativity. Air-dry clay is perfect for beginners and experienced crafters because it is easy to shape, does not require a kiln, and hardens naturally in a few hours to days. Making bird sculptures with clay can also be a calming activity, suitable for both adults and children.
This blog post will explore ten different air-dry clay bird ideas that you can make at home. Each idea comes with clear instructions, preparation tips, and materials needed. We will cover simple birds, colorful designs, and even decorative pieces that can brighten up your living space. Whether you want to create a small bird for a shelf, a decorative piece for a garden, or a unique gift, these clay bird projects will inspire you to get your hands messy and enjoy the process.
By the end of this post, you will not only have ten bird ideas but also the confidence to experiment and create your own clay bird designs. Let’s start our creative journey with air-dry clay!
1. Simple Sitting Bird
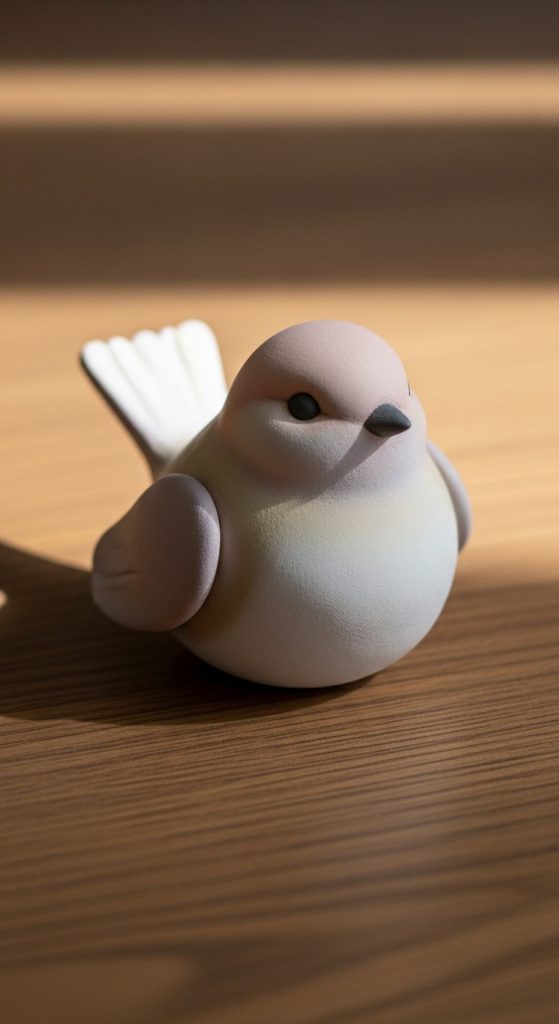
Creating a simple sitting bird is a great starting project for beginners. You only need basic materials: air-dry clay, a small rolling pin, sculpting tools, and acrylic paints for finishing. Start by rolling a small ball of clay for the bird’s body and a slightly smaller ball for the head. Smooth the surfaces and attach the head to the body using a little water or clay slip.
Next, shape the beak by forming a small cone and attach it to the head. For wings, roll two small flat pieces and gently press them to the sides of the body. You can texture the wings with a toothpick or sculpting tool to add feather details. The tail can be a small triangular piece added to the back.
After shaping, let your bird dry completely for 24 hours. Once dry, paint your bird using bright or natural colors. You can add small details like eyes using a fine brush. This simple sitting bird is perfect for decorating desks, shelves, or even as a handmade gift. It teaches basic clay handling and shaping techniques.
2. Perching Bird on a Branch
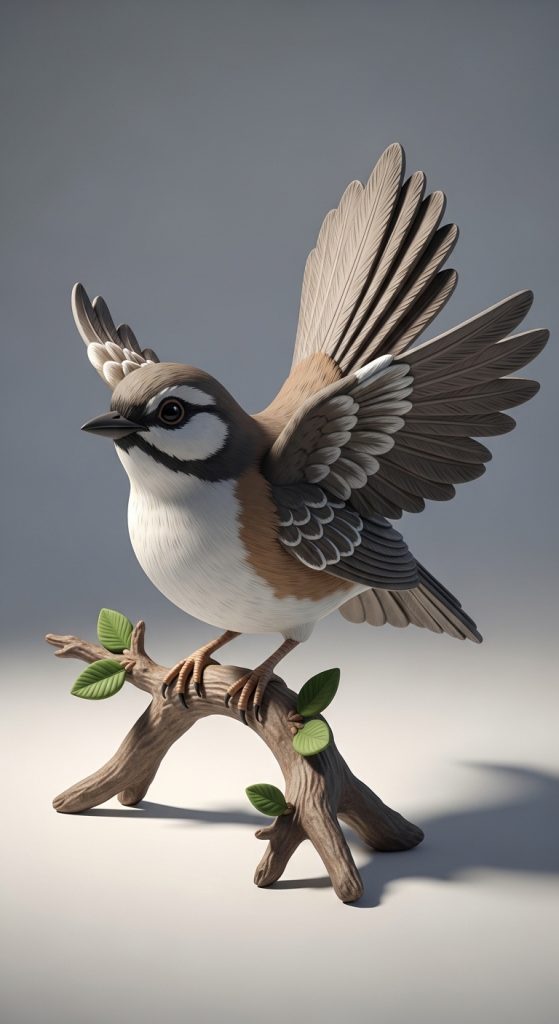
A perching bird on a branch creates a more dynamic and lifelike sculpture. You will need air-dry clay, a small stick or wire for the branch, sculpting tools, and paint. Start by shaping the bird’s body and head like in the previous project. Make sure the bird’s legs are slightly bent as if it is gripping a branch.
Roll thin clay ropes for the legs and carefully attach them to the body. Then, take your small stick or a clay-made branch and secure the bird on top. You can add small leaves or flowers to the branch using additional clay. Texturing the wings and tail adds realism.
Allow the entire sculpture to dry completely. Once dry, paint your bird with natural colors or creative patterns. You can add shading to the wings and tail to make it look more realistic. This project requires more attention to balance and attachment, making it ideal for those who want to try a slightly more advanced clay bird design.
3. Colorful Parrot
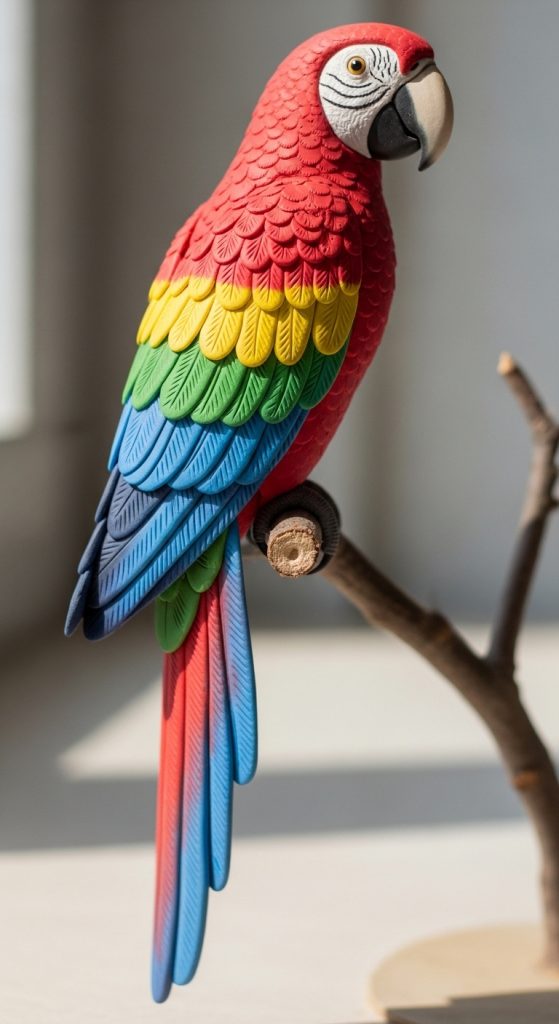
Parrots are known for their vibrant colors, and creating a parrot with air-dry clay can be a fun and artistic project. Gather air-dry clay, acrylic paints, sculpting tools, and a reference image of a parrot. Start by forming a long oval body and a round head. Shape a curved beak and attach it carefully.
For wings, roll flat pieces of clay and shape them like feathers. Use a toothpick to carve feather lines. The tail should be longer than in previous birds and can be shaped into multiple layers for more realism. Once dry, paint your parrot in bright shades such as red, yellow, green, and blue. Adding small details like the eyes and feather lines enhances its beauty.
This colorful parrot sculpture can become a centerpiece on a shelf or desk. Working with a parrot helps improve your painting and detailing skills, especially if you aim to replicate natural colors and patterns.
4. Hummingbird in Flight
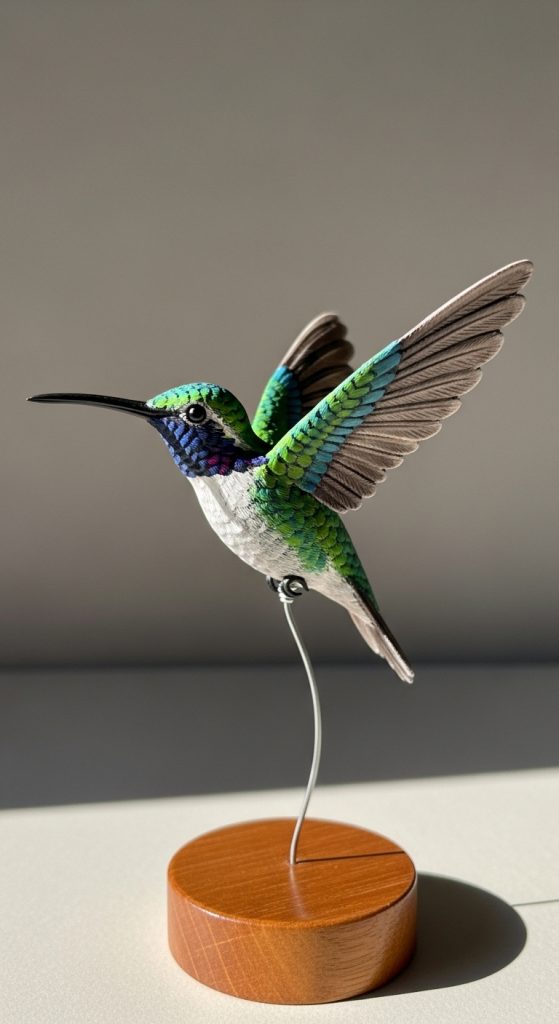
A hummingbird in flight captures motion and elegance. This project is ideal for intermediate crafters. Materials include air-dry clay, thin wire, sculpting tools, and paint. Start by forming a small, streamlined body and a tiny head. Shape a long, thin beak and delicate wings.
Use thin wire to support the bird in a flying position. Insert the wire into the clay body before it dries. The wings should be thin and curved slightly upward to give the illusion of movement. Let the sculpture dry completely with the wire in place.
Once dry, paint your hummingbird in vibrant shades such as green, blue, or pink. Add tiny details on the wings and tail. You can attach the wire to a small wooden base to display it as if it is hovering in mid-air. This project teaches you how to create dynamic poses with air-dry clay.
5. Owl with Big Eyes
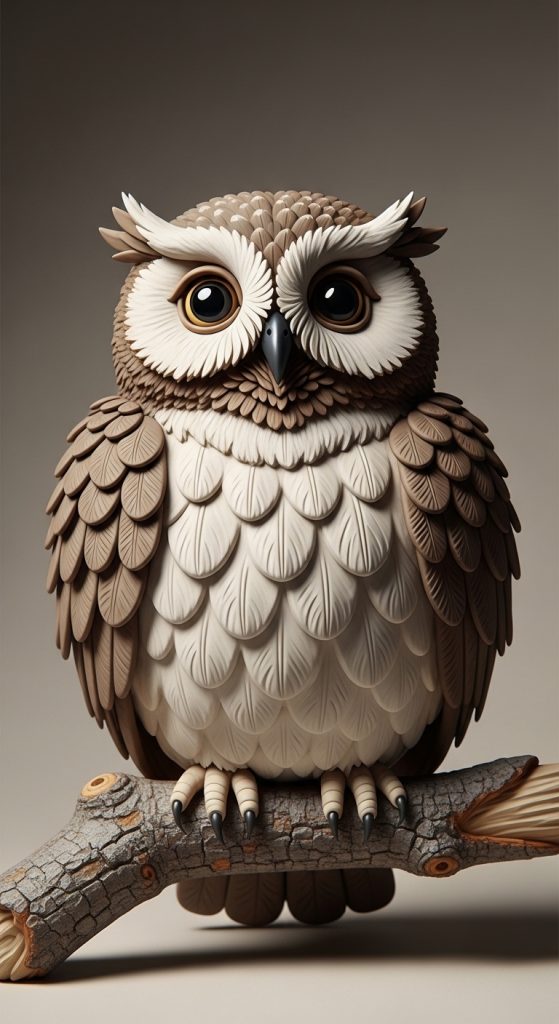
Owls are a favorite subject for clay artists because of their distinctive eyes and facial features. Materials required include air-dry clay, sculpting tools, a small rolling pin, and paint. Begin by forming a rounded body and a slightly flattened head. Press two large circles for the eyes and attach small clay pupils.
Shape small pointed ears on top of the head. Create wings by rolling out thin flat clay and attach them to the sides of the body. Texturing the feathers with a toothpick or sculpting tool adds realism. You can also create a small clay base shaped like a branch for the owl to sit on.
After drying, paint the owl in natural brown and white tones, or make it colorful for a whimsical effect. The big eyes can be highlighted with black paint or small beads for added charm. This owl sculpture is perfect for decorations or as a gift for bird lovers.
6. Nesting Bird with Eggs
A nesting bird adds storytelling to your clay project. Materials include air-dry clay, sculpting tools, and paints. Start by shaping the bird as usual with a small rounded body and head. For the nest, roll clay ropes and arrange them in a circular pattern to create a shallow bowl.
Place small clay eggs inside the nest, shaping them carefully. Attach the bird on top or beside the nest. You can add feather details to the bird and texture to the nest for a realistic look.
Let the sculpture dry completely. Paint the bird, eggs, and nest with appropriate colors. Soft browns and creams work well for the nest, while eggs can be pale blue, white, or speckled. This project is excellent for practicing small detail work and combining multiple elements in one clay sculpture.

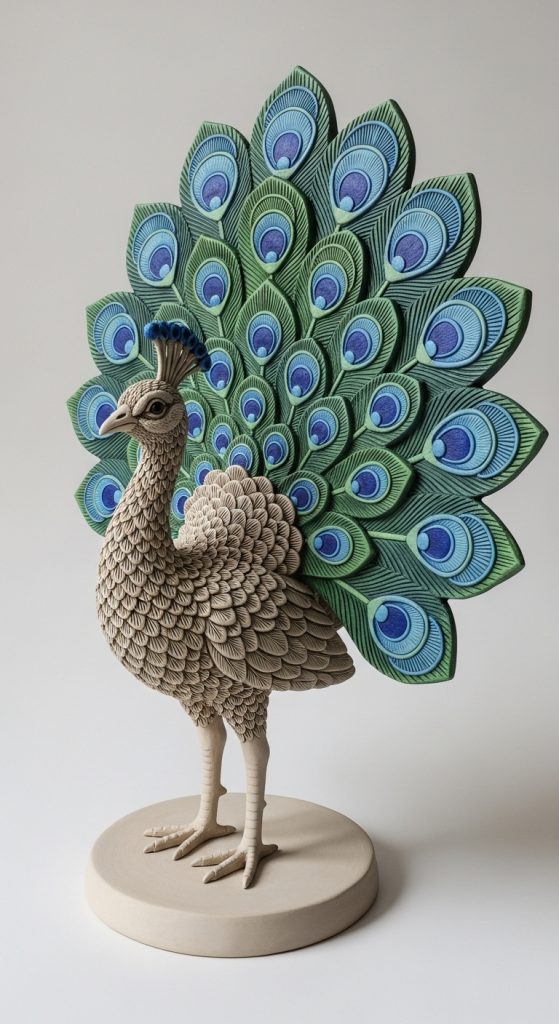
7. Decorative Peacock
A peacock sculpture can become a centerpiece due to its majestic feathers. Materials needed include air-dry clay, sculpting tools, and paints. Start with a rounded body and a small head. Shape a curved beak and attach it carefully. The legs should be thin but sturdy.
The most important part is the tail feathers. Roll out flat clay pieces and fan them behind the body. Use sculpting tools to carve feather details. Once dry, paint the body in blues or greens and decorate the tail feathers with bright colors or patterns.
This project is slightly advanced because of the detailed tail, but it results in a stunning decorative piece. It teaches patience and precision while allowing creative freedom in painting patterns and colors.
8. Tiny Chick
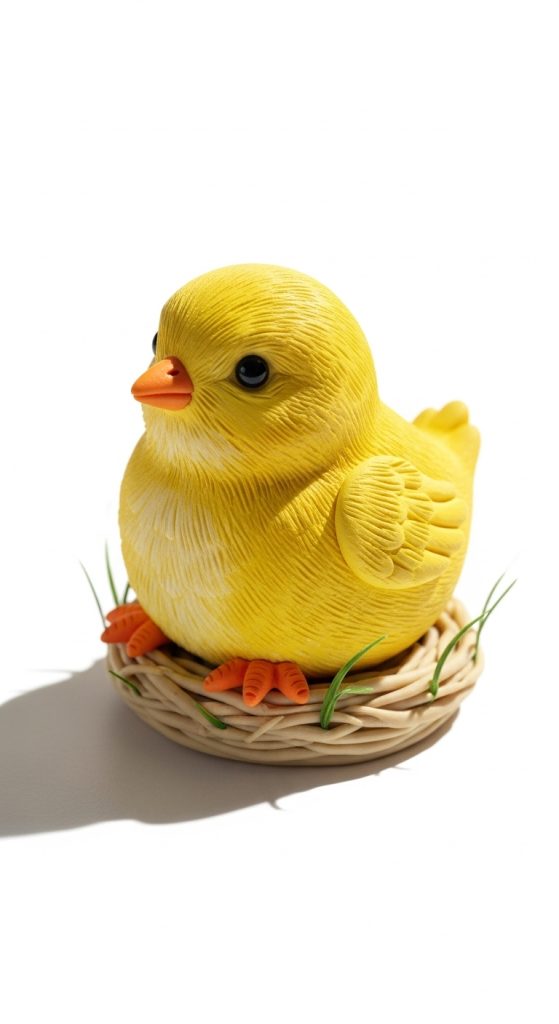
A tiny chick is an easy and adorable project, perfect for beginners or children. Materials include air-dry clay, sculpting tools, and paint. Start by forming a small, round body and a tiny round head. Add a small cone-shaped beak and tiny wings.
Texture the wings and body lightly with a toothpick. Let the sculpture dry completely. Paint the chick in bright yellow and add orange for the beak and feet. You can create a small nest or grass base with additional clay.
This simple project is ideal for practicing basic shapes and small-scale clay work. Tiny chicks are perfect for Easter decorations or miniature scenes.
9. Songbird with Open Wings
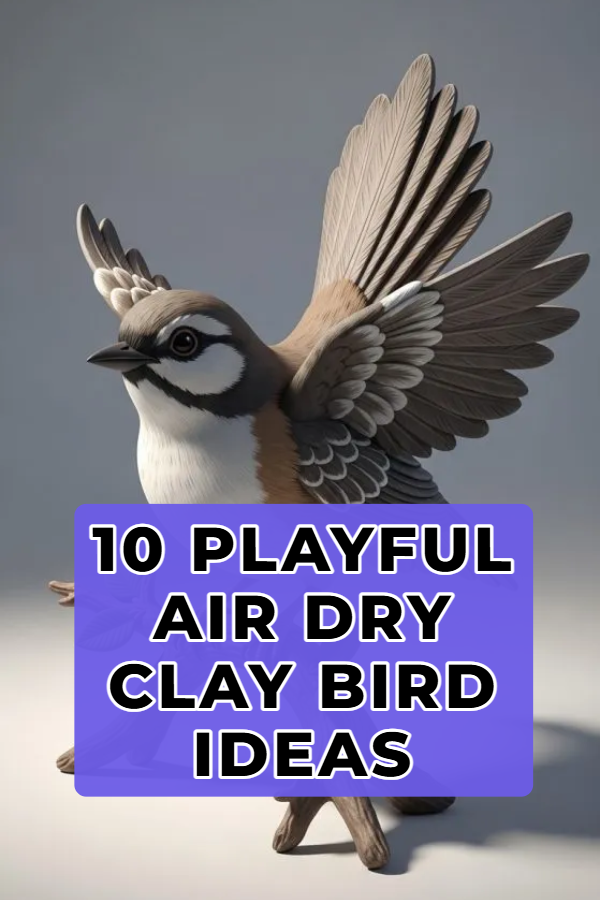
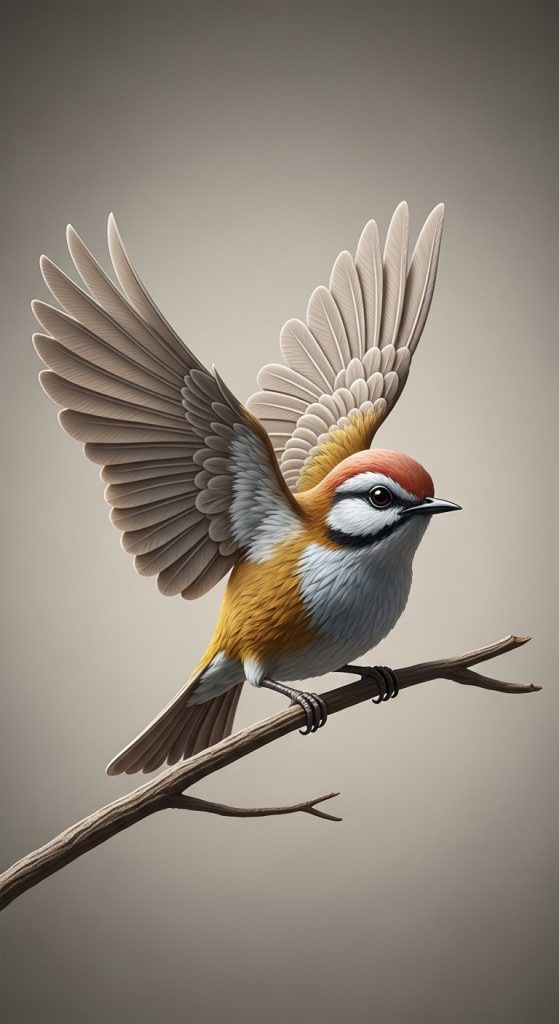
A songbird with open wings captures a lively pose. Materials needed include air-dry clay, sculpting tools, wire for support, and paint. Begin by forming the bird’s body and head. Shape thin, open wings and attach them using a little water or slip.
Use thin wire to keep the wings in place while drying. Texture the feathers carefully to give them a realistic appearance. Once dry, paint the bird in natural or bright colors. You can also mount it on a small branch base for display.
This project is excellent for learning how to depict motion and open poses in clay. It encourages attention to detail and proper support while drying.
10. Fantasy Bird
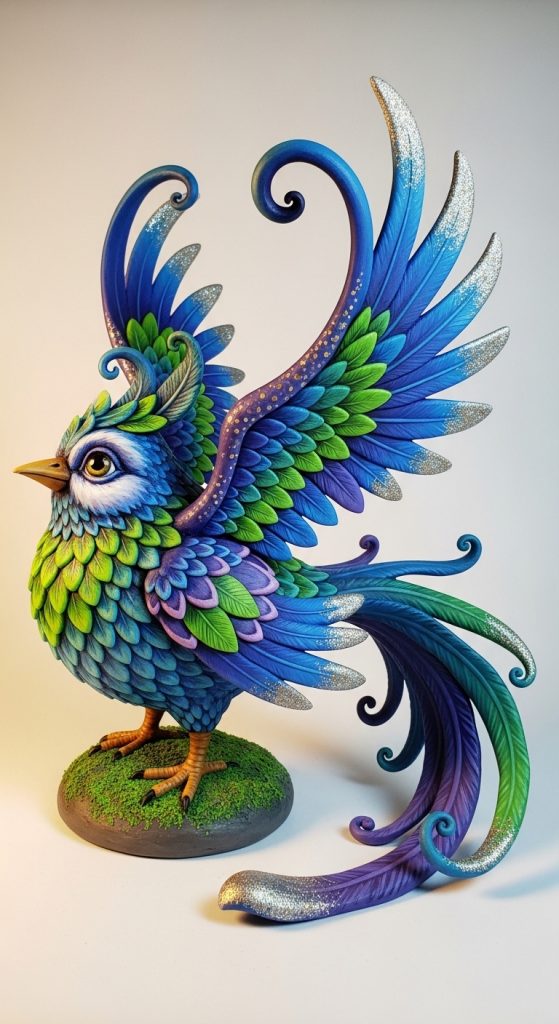
A fantasy bird allows complete creative freedom. Materials include air-dry clay, sculpting tools, and paints. You can combine elements from real birds, such as wings, tails, and beaks, with imaginative patterns and colors. Create a unique body shape, exaggerated wings, or a whimsical tail.
Texture the feathers and body creatively. Let the sculpture dry completely. Paint your fantasy bird in bold and imaginative colors. Add glitter, metallic paints, or patterns for a magical effect.
This project is ideal for advanced crafters or anyone who wants to explore artistic expression with air-dry clay. It teaches experimentation and encourages thinking outside the box while working with clay.