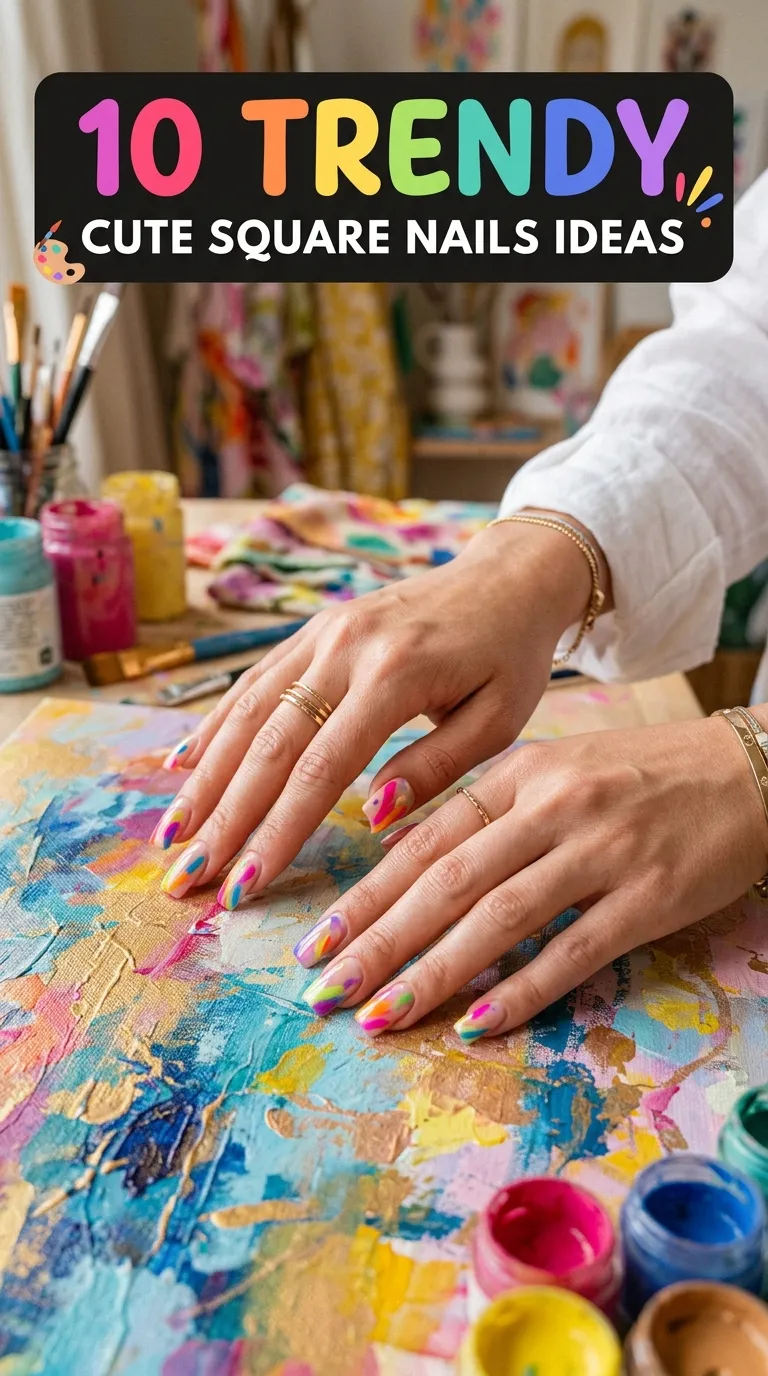

Square nails are a timeless nail shape that offers a clean, modern look while allowing room for creative designs. Whether you’re preparing for a casual day out, a party, or a special occasion, square nails provide the perfect canvas for artistry. In this guide, we will explore ten cute square nail ideas, complete with preparation steps, materials, and detailed application techniques.
Nail Preparation: The Foundation for Perfect Nails
Before applying any design, proper nail preparation is essential. Start by removing any old nail polish using a gentle, acetone-free nail polish remover. Trim nails to your desired length and shape the edges using a nail file. For square nails, file the sides straight and finish with a slightly rounded tip to prevent chipping. Push back cuticles gently using a cuticle pusher and trim excess cuticle skin if necessary. Buff the nail surface lightly to remove any ridges, creating a smooth canvas. Wash hands thoroughly to remove dust and oils. Apply a base coat to protect the natural nails from staining and to ensure the polish adheres better. Proper preparation not only enhances the final design but also helps maintain nail health.
Materials Needed for Preparation:
- Nail file and buffer
- Cuticle pusher and nippers
- Nail polish remover
- Base coat
- Hand soap and towel
1. Pastel Gradient Square Nails
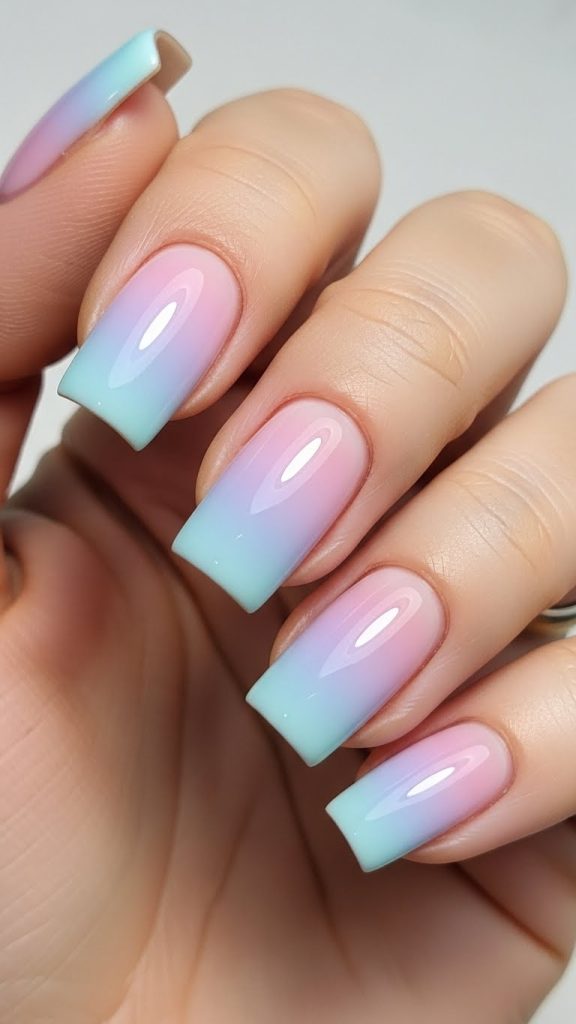
Pastel gradient nails are soft, feminine, and perfect for everyday wear. To create this look, you will need two to three pastel nail polish shades. Start by applying a base coat to protect the nails. Using a makeup sponge, apply stripes of pastel colors in your desired gradient pattern. Dab the sponge gently onto the nails, layering until you achieve a smooth blend. Clean up excess polish around the cuticles using a brush dipped in nail polish remover. Finish with a glossy top coat to seal the gradient and give a polished finish.
Tips:
- Use colors that complement each other for a seamless gradient.
- Allow each sponge layer to dry slightly before adding the next.
- Pastel gradients pair well with simple nail rings or delicate hand jewelry.
Materials Needed:
- Pastel nail polishes
- Makeup sponge
- Top coat
- Nail brush
2. Minimalist Line Art
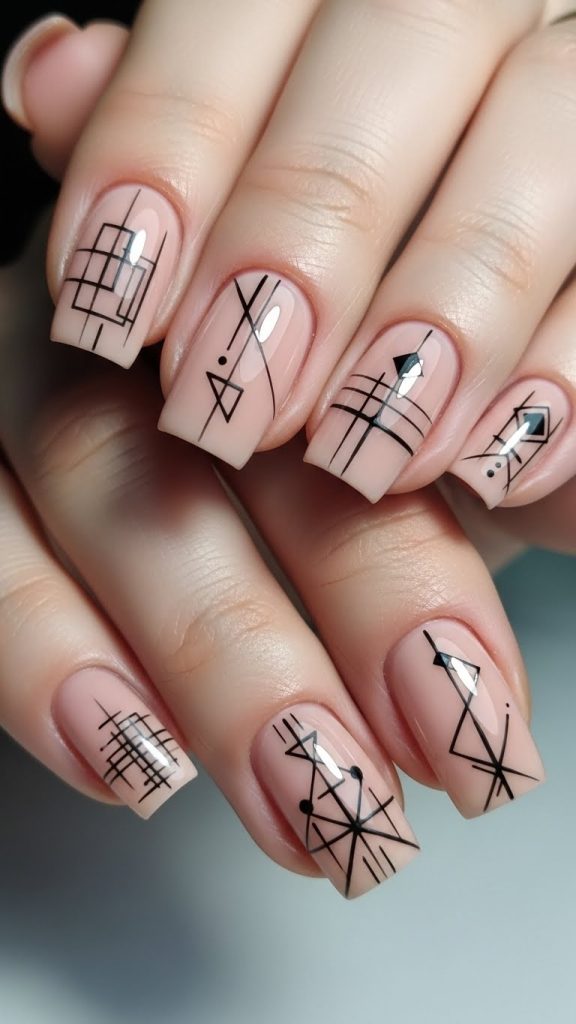
Minimalist line art nails are chic, modern, and perfect for those who prefer understated designs. Begin with a neutral or nude base polish and allow it to dry completely. Using a thin nail art brush or a fine nail art pen, draw simple geometric shapes or abstract lines on each nail. This could include diagonal lines, intersecting lines, or tiny shapes at the corners. Seal the design with a top coat to ensure longevity and shine.
Tips:
- Keep the lines delicate to maintain a minimalist aesthetic.
- Contrast the base color with a darker polish for the lines to make them stand out.
- Practice the design on paper or a nail wheel before applying it to your nails.
Materials Needed:
- Nude or neutral polish
- Nail art brush or pen
- Top coat
3. Polka Dot Play
Polka dot nails bring a playful and retro vibe to square nails. Apply a solid base color and let it dry. Use a dotting tool or the end of a bobby pin to create dots evenly across the nails. You can mix sizes and colors for a fun look or stick to uniform dots for a more sophisticated style. Finish with a clear top coat to protect the design and add shine.
Tips:
- Use contrasting colors for the base and dots to make them pop.
- For a subtle look, use colors within the same palette.
- Practice spacing to ensure dots are evenly distributed.
Materials Needed:
- Base color polish
- Dotting tool or bobby pin
- Top coat
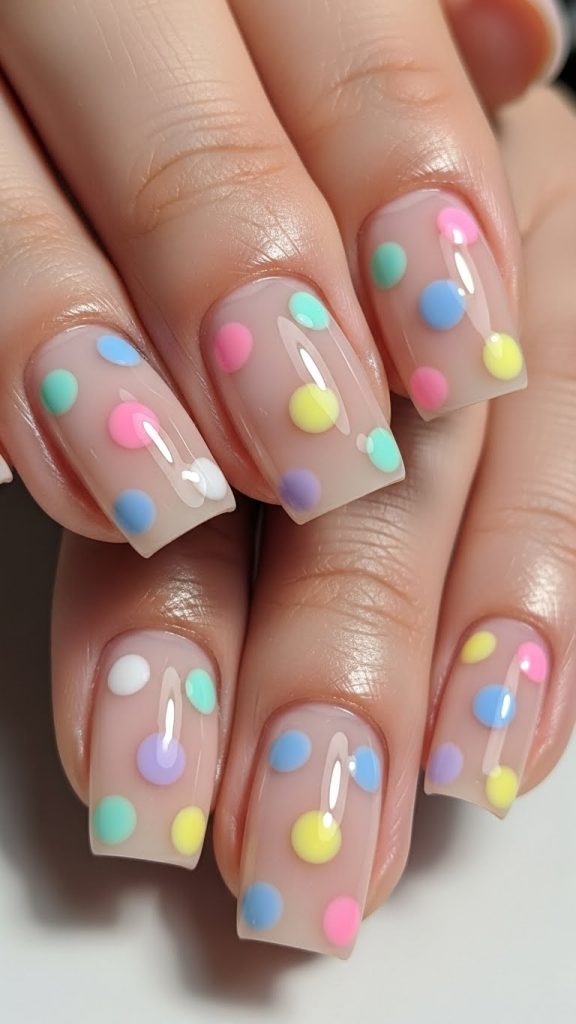
4. Glitter Accent Nails
Glitter accent nails are perfect for adding sparkle without being overwhelming. Start with a base color, such as pastel, nude, or classic pink. Apply glitter polish to one or two accent nails, or create a gradient glitter effect from the cuticle outward. For precise application, use a small brush or a sponge to control glitter placement. Seal with a glossy top coat for extra shine and durability.
Tips:
- Pair glitter nails with matte colors for contrast.
- Avoid applying glitter too thickly to prevent uneven surfaces.
- Use loose glitter for a more dramatic effect or glitter polish for a subtle look.
Materials Needed:
- Base polish
- Glitter polish or loose glitter
- Small brush or sponge
- Top coat
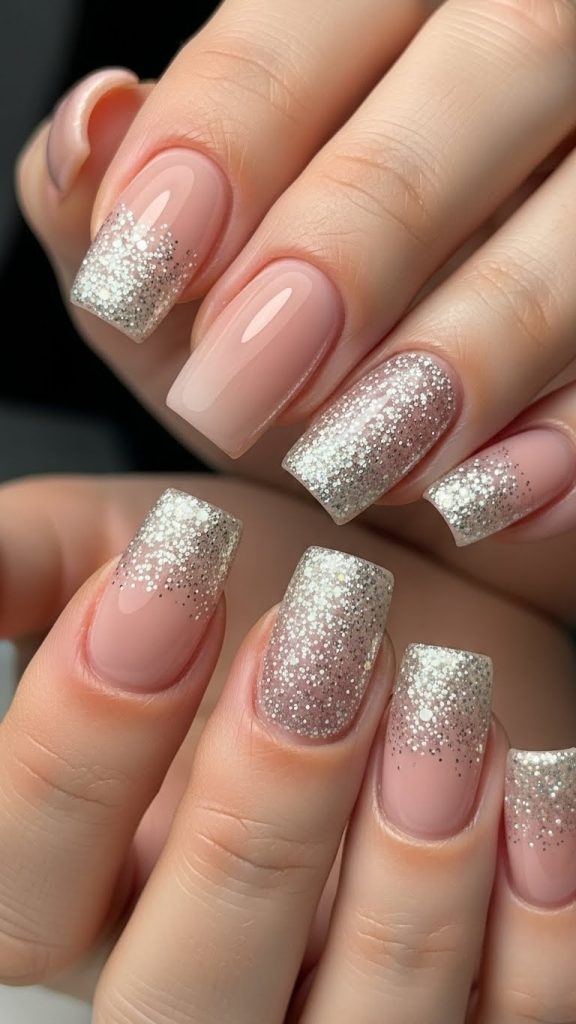
5. Floral Patterns
Floral nail designs are feminine, delicate, and ideal for spring or summer. Apply a pastel or nude base color and let it dry. Using a thin nail art brush, draw tiny flowers in clusters or scattered across the nails. For added depth, use multiple shades for petals and a contrasting color for the center of the flower. Finish with a top coat to protect the design and add gloss.
Tips:
- Keep floral designs small for a refined appearance.
- Layer colors gradually to avoid smudging.
- Coordinate flower colors with your outfit or accessories.
Materials Needed:
- Base polish
- Thin nail art brush
- Multiple nail polish shades
- Top coat

6. French Tips with a Twist
Classic French tips get a modern update with playful colors and creative patterns. Begin with a nude or clear base. Instead of traditional white tips, use pastel, neon, or metallic shades. For added creativity, try diagonal tips, double tips, or even glitter edges. Apply a top coat to protect the design and ensure smoothness.
Tips:
- Use striping tape for clean lines.
- Mix classic and bold colors for contrast.
- Keep tips consistent in thickness for a polished look.
Materials Needed:
- Base polish
- Colored or glitter polish
- Striping tape
- Top coat
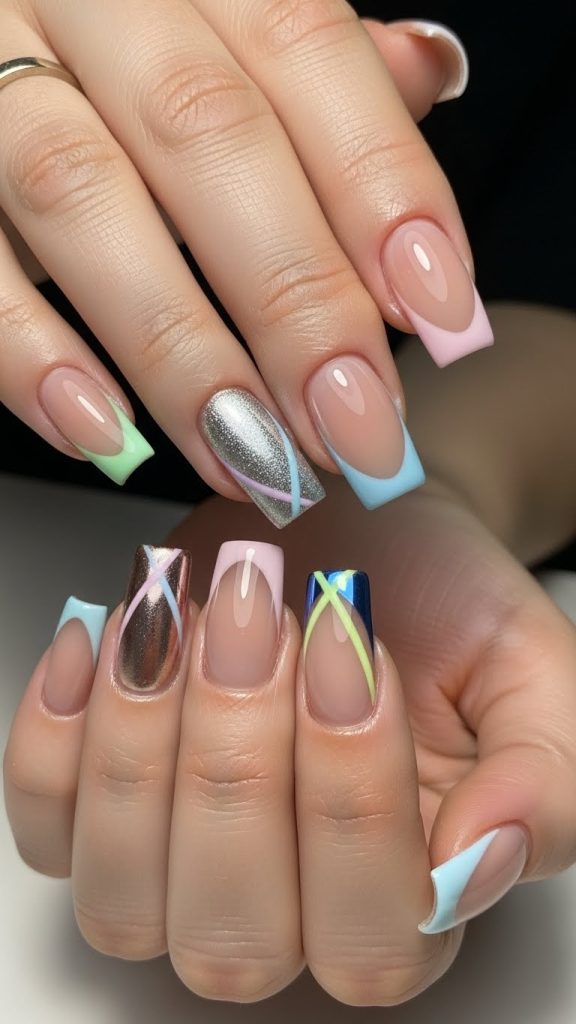
7. Matte and Glossy Contrast
Combining matte and glossy finishes creates a sophisticated look. Start with a base coat and choose a color for the matte section and another for glossy. Apply matte polish to some nails and glossy polish to others, or create patterns combining both finishes on a single nail. Seal glossy areas with top coat and leave matte areas as is.
Tips:
- Use a matte top coat over colored polish to achieve a smooth matte finish.
- Keep patterns simple for a modern, chic effect.
- Experiment with negative space for added style.
Materials Needed:
- Matte and glossy polish
- Top coat (for glossy areas)
- Nail art brush
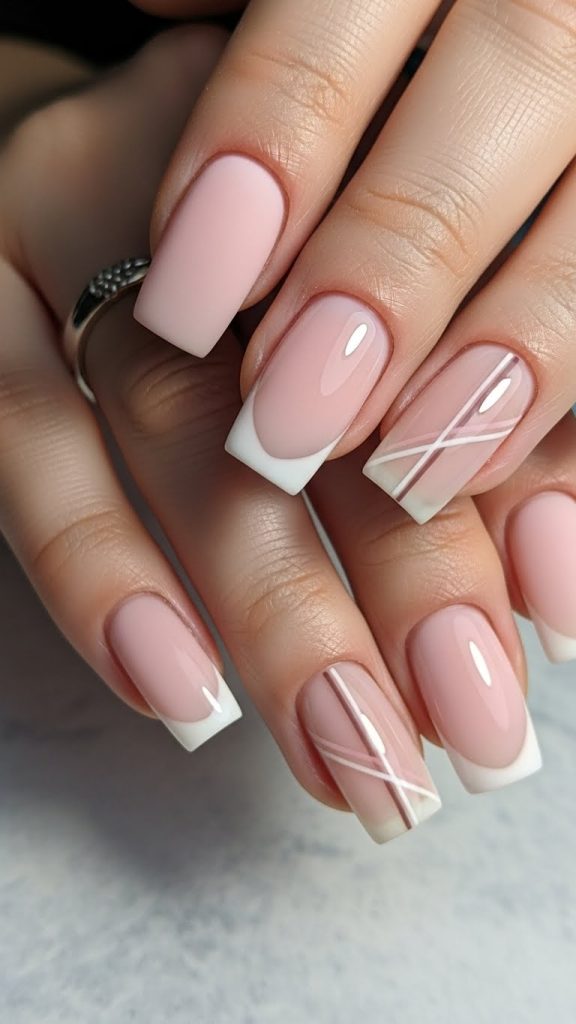
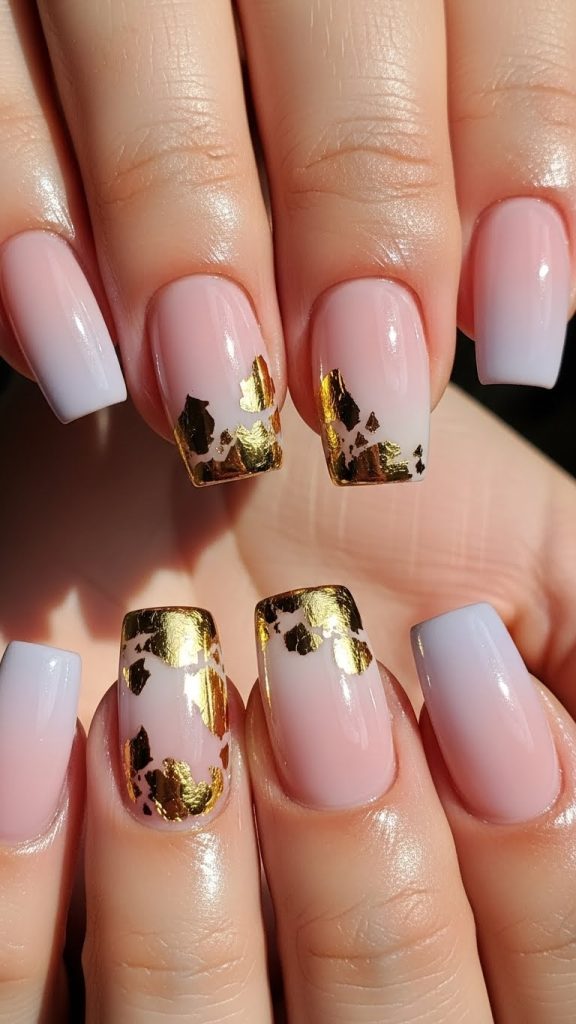
8. Ombre with Foil
Foil accents combined with ombre designs elevate square nails for an elegant and glamorous look. Start with a gradient base using two complementary colors. Once dry, apply nail foil glue in select areas and press foil sheets on top. Remove excess foil gently. Finish with a glossy top coat to seal the design.
Tips:
- Choose foil colors that complement your gradient.
- Avoid overloading nails with foil to prevent heaviness.
- Practice foil application on a single nail first.
Materials Needed:
- Base and gradient polishes
- Nail foil sheets
- Foil glue
- Top coat
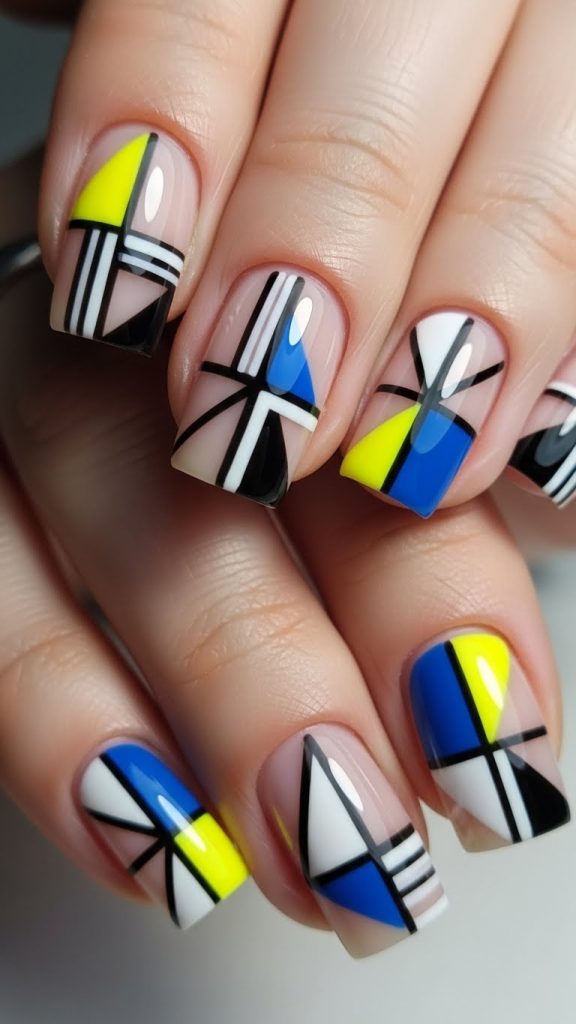
9. Geometric Patterns
Geometric nail designs are bold, modern, and visually striking. Begin with a neutral base color. Using striping tape, create triangles, rectangles, or diagonal patterns. Fill in sections with contrasting colors. Once dried, remove the tape carefully and apply a top coat to finish.
Tips:
- Precision is key; ensure tape is firmly pressed down.
- Experiment with metallic or neon colors for a standout look.
- Keep geometric patterns symmetrical for a clean appearance.
Materials Needed:
- Base polish
- Multiple nail colors
- Striping tape
- Top coat
10. Seasonal Themes
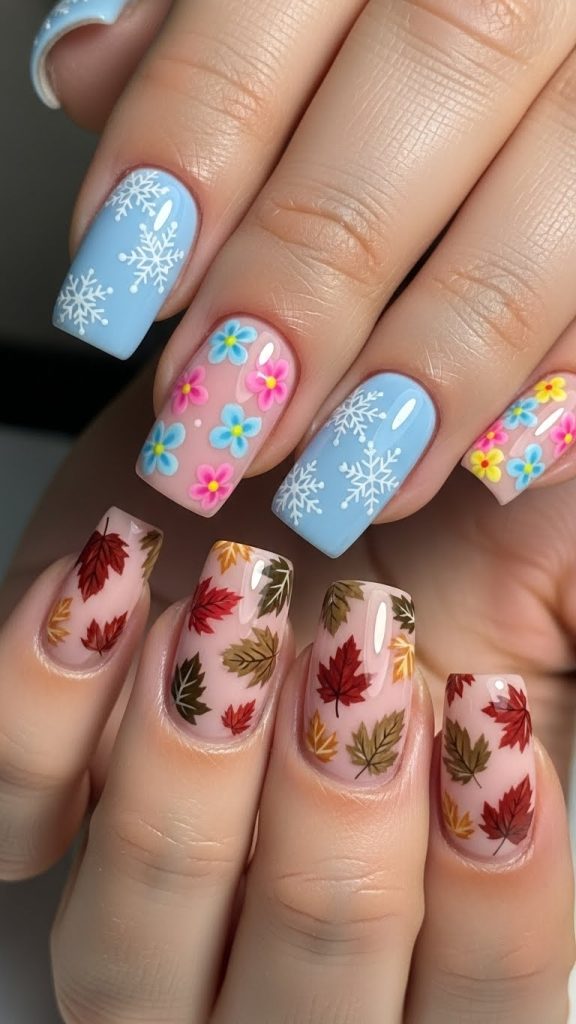
Seasonal designs allow you to customize nails for holidays or events. For winter, try snowflakes or icy colors; for spring, flowers and pastel tones work well. Begin with a suitable base color and use a thin brush to create small, thematic designs. Seal with a top coat to enhance durability.
Tips:
- Plan your color palette according to the season.
- Keep designs minimal for everyday wear or detailed for special occasions.
- Seasonal nails can be paired with matching accessories for a cohesive look.
Materials Needed:
- Base polish
- Thin nail art brush
- Multiple colors for designs
- Top coat