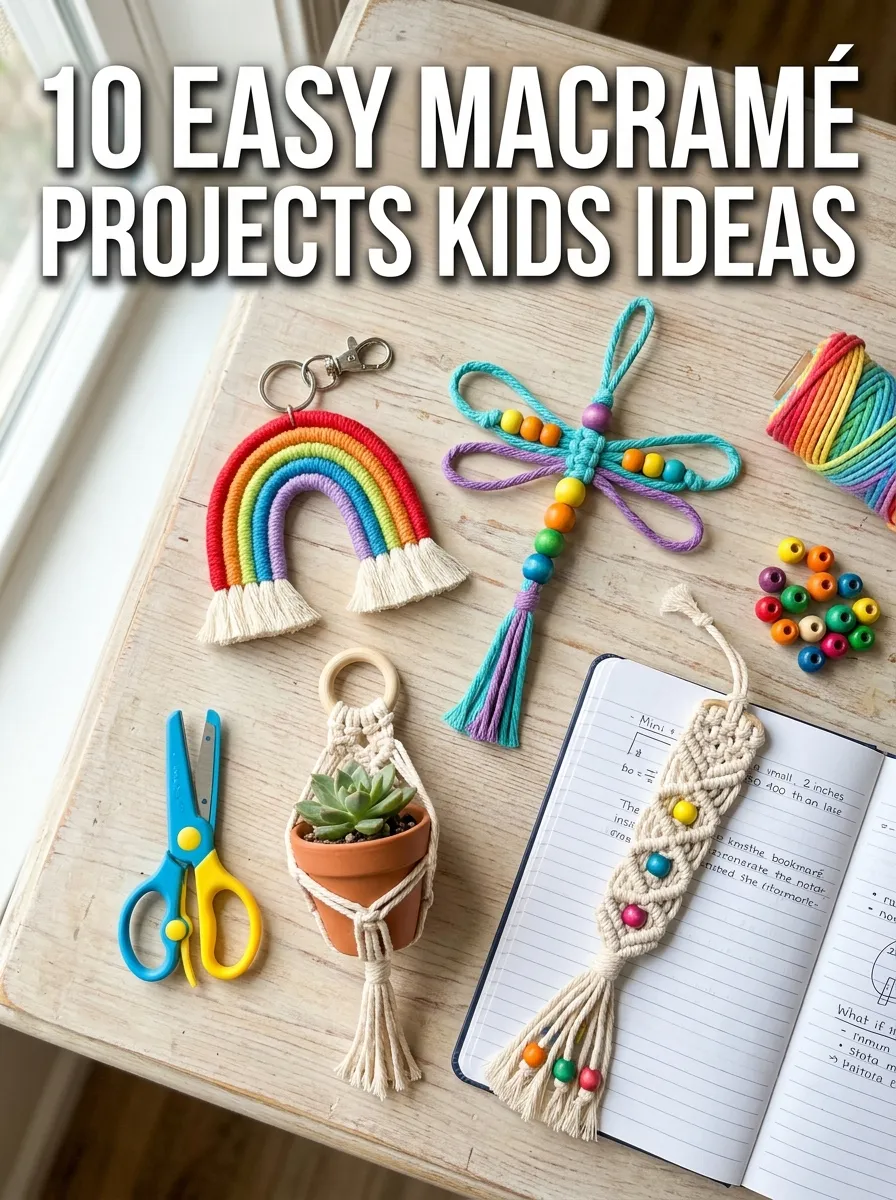
Macrame is a fun and creative craft that uses knotting techniques to make decorative and functional items. It is a perfect activity for kids because it helps develop fine motor skills, patience, and creativity. With simple materials and easy-to-follow patterns, children can create beautiful pieces they can display at home, give as gifts, or use in everyday life. Unlike other crafts that require cutting or gluing, macrame focuses on knots, which makes it safe and engaging for children of different ages. Kids can start with basic knots and gradually move on to more complex designs as they gain confidence.
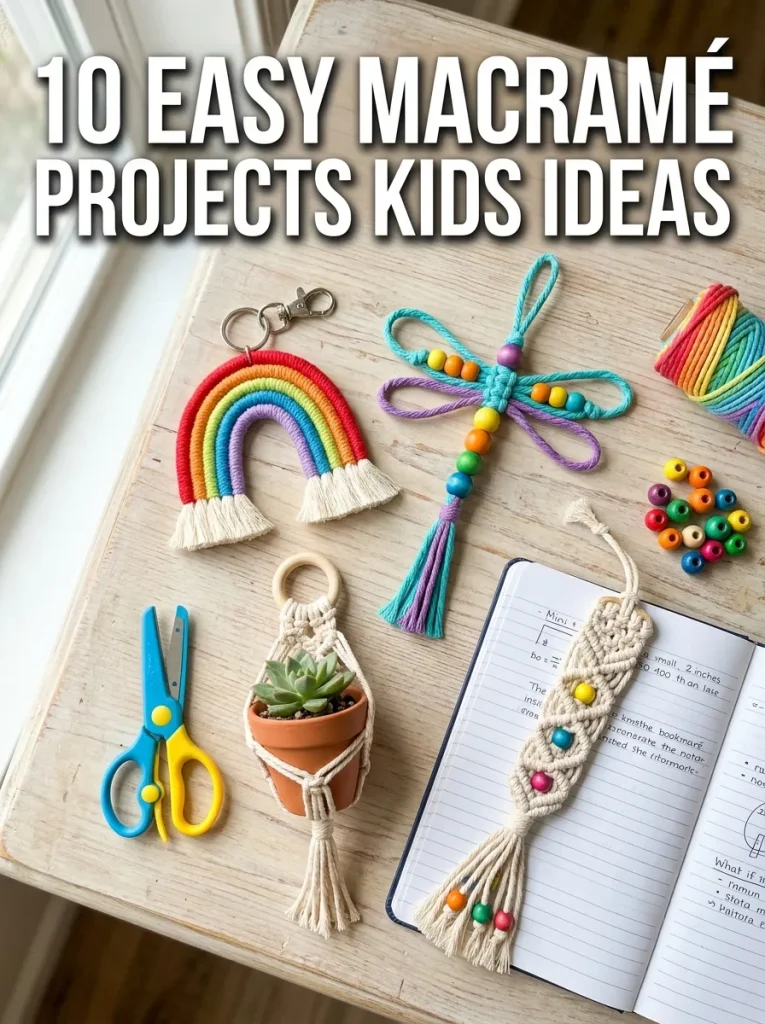
This guide introduces ten easy macrame projects specifically designed for kids. Each project includes a list of materials, simple instructions, and tips to make the process enjoyable. From small keychains to colorful wall hangings, these projects are perfect for school craft activities, rainy-day entertainment, or weekend family projects. By the end, kids will not only have fun creating but will also develop a sense of accomplishment and pride in their handmade creations.
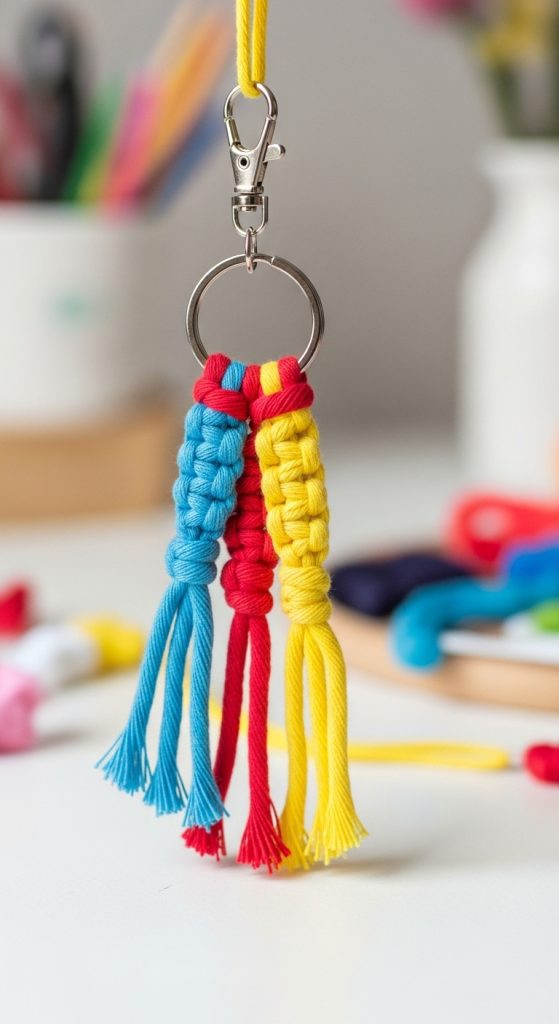
1. Macrame Keychains
Creating macrame keychains is one of the simplest projects for kids. The keychains are small, quick to make, and allow children to practice basic knots like the square knot and lark’s head knot.
Materials Needed:
- Colored macrame cord (2-3mm thickness)
- Key rings
- Scissors
- Tape or clip to hold cords in place
Instructions:
- Cut three strands of cord, each about 12 inches long.
- Fold the cords in half and attach them to the key ring using a lark’s head knot.
- Use square knots to create a pattern along the length of the cords.
- Once the desired length is reached, tie a knot at the end and trim the excess cord.
Tips:
- Encourage kids to choose colorful cords for a fun, vibrant keychain.
- Adding small beads between knots can make the keychain more decorative.
- These keychains make great gifts for friends and family.
2. Mini Macrame Wall Hanging
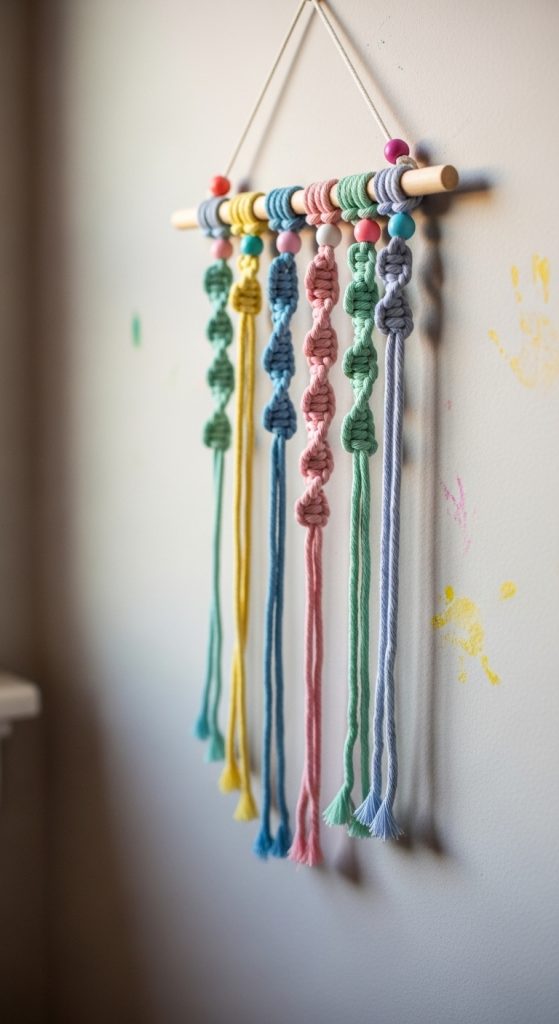
A mini macrame wall hanging is an excellent first project for kids who want to decorate their room. It is small and uses basic knots, which makes it beginner-friendly.
Materials Needed:
- Cotton macrame cord (3mm thickness)
- Small wooden dowel (6-8 inches)
- Scissors
- Tape or clip
Instructions:
- Cut six strands of cord, each about 24 inches long.
- Fold cords in half and attach them to the dowel using a lark’s head knot.
- Create a simple square knot pattern along the cords.
- Trim the ends to make a neat fringe or leave them uneven for a boho look.
Tips:
- Experiment with different cord lengths to create a layered effect.
- Kids can add small beads or colored threads to personalize their wall hanging.
- This project can be completed in under 30 minutes, making it ideal for quick crafts.
3. Macrame Bracelet
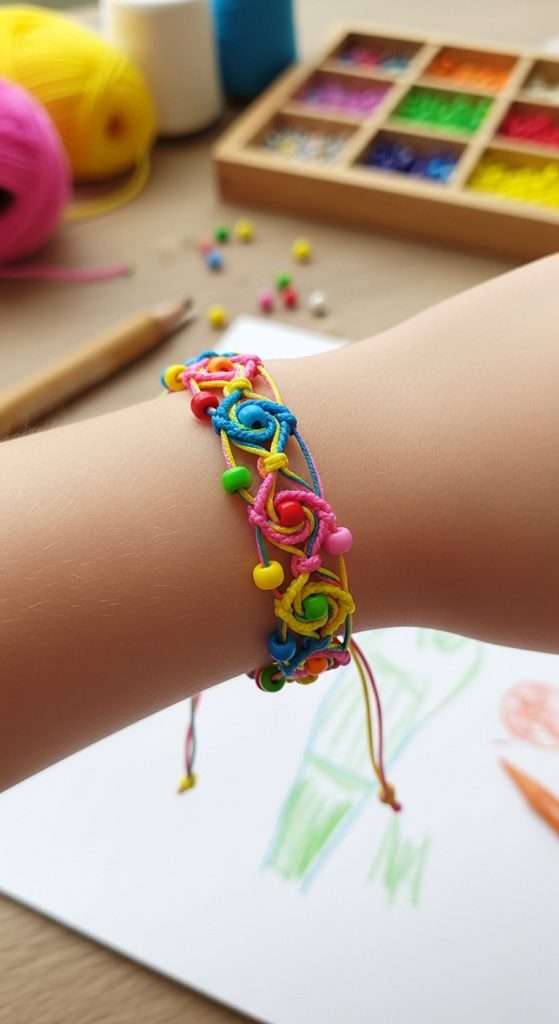
Macrame bracelets are small, wearable projects that let kids practice their knotting skills while creating something they can show off.
Materials Needed:
- Thin macrame cord or embroidery floss
- Scissors
- Beads (optional)
- Tape to secure cords
Instructions:
- Cut three cords of equal length, about 24 inches each.
- Tie a knot at one end and tape it to a flat surface to hold it in place.
- Make alternating square knots along the length of the bracelet.
- Add beads in between knots for decoration.
- Finish with a knot and trim excess cord.
Tips:
- Using bright, colorful cords makes the bracelet fun and attractive.
- Encourage kids to gift their bracelets to friends or family.
- These bracelets can be made in 20-30 minutes and are perfect for beginners.
4. Macrame Plant Hanger
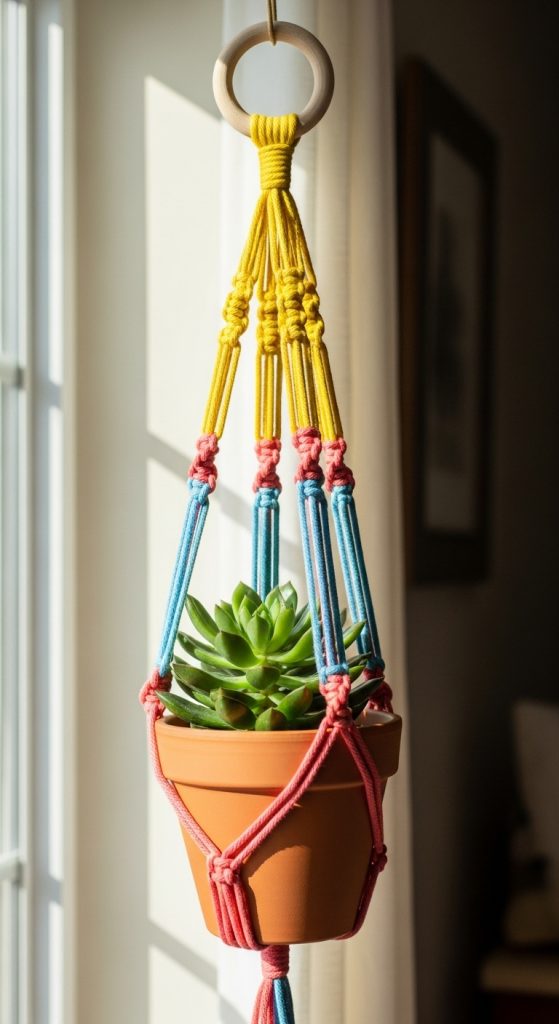
Even kids can create a simple macrame plant hanger to display small pots. This project introduces longer cord lengths and teaches children about spacing and balance.
Materials Needed:
- Cotton macrame cord (3-4mm thickness)
- Small plant pot
- Scissors
- Wooden ring
Instructions:
- Cut four long cords, each about 3 feet.
- Fold cords in half and attach to the wooden ring using lark’s head knots.
- Divide cords into pairs and tie square knots a few inches down.
- Gather all cords at the bottom and tie a final knot to hold the pot.
Tips:
- Start with small, lightweight pots to make handling easier.
- Use bright cords to make the plant hanger visually appealing.
- Kids can hang the finished product in their room or give it as a gift.
5. Macrame Bookmark
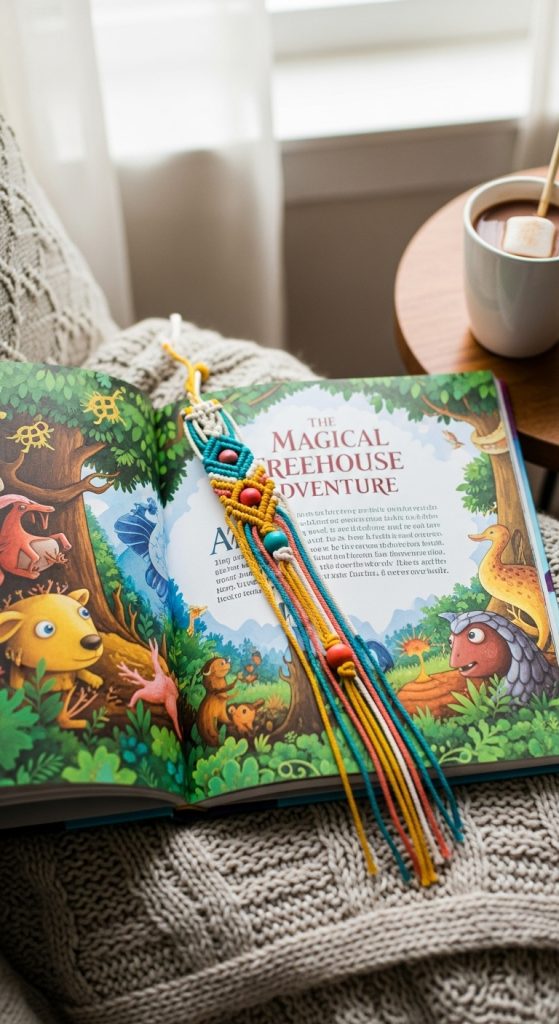
A macrame bookmark is a quick project that combines creativity with practicality. It helps kids practice small knots and patterns while making something they can use every day.
Materials Needed:
- Thin macrame cord or embroidery thread
- Scissors
- Small beads (optional)
Instructions:
- Cut two cords about 12 inches long.
- Tie a knot at the top, leaving a small loop for decoration.
- Create square knots along the length of the cords.
- Add beads or charms at intervals for decoration.
- Finish with a knot at the bottom and trim excess cord.
Tips:
- Encourage kids to experiment with different colors and patterns.
- A finished bookmark can be a personal gift for friends or family.
- This project takes about 15-20 minutes, making it perfect for quick crafting sessions.
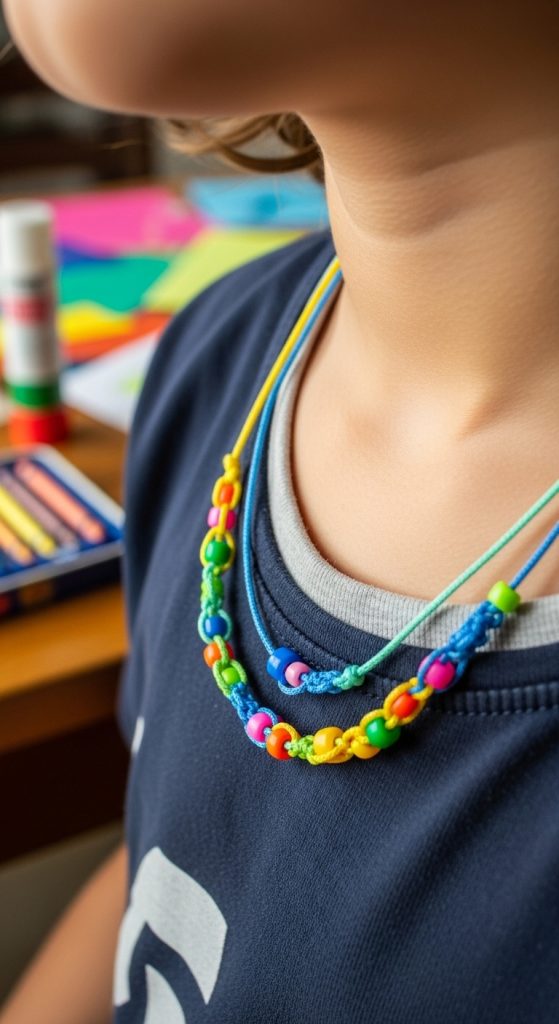
6. Macrame Friendship Necklace
This wearable project is fun for kids and allows them to create gifts for friends. Simple knots and bright cords make the process enjoyable.
Materials Needed:
- Thin macrame cord or embroidery floss
- Beads (optional)
- Scissors
- Tape to hold cords
Instructions:
- Cut three cords about 18 inches long.
- Tape one end to a flat surface.
- Use square knots to create a simple chain.
- Add beads as decoration.
- Finish with knots at each end and tie to form a necklace.
Tips:
- Mix different cord colors for a rainbow effect.
- Kids can make matching necklaces for friends.
- This project improves hand coordination and knotting skills.
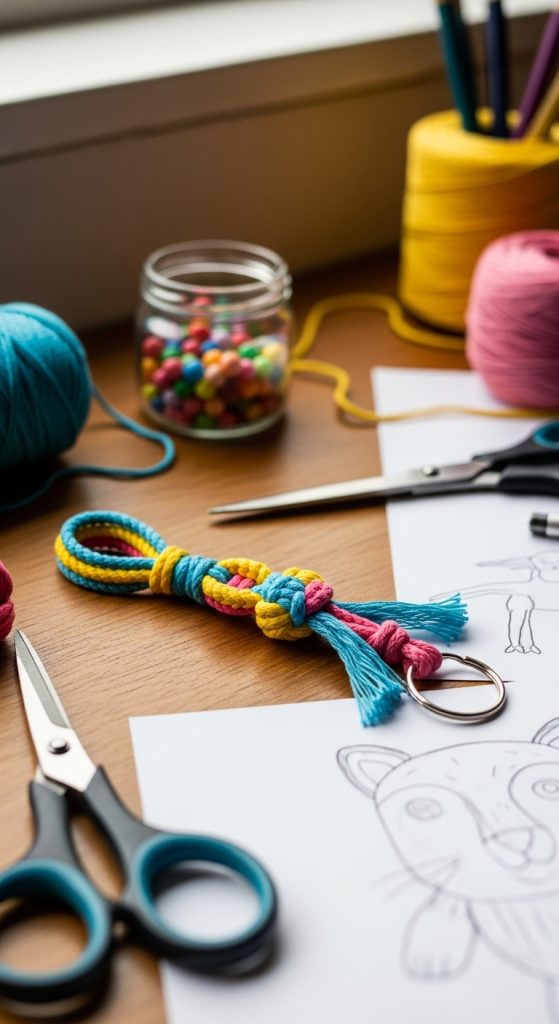
7. Macrame Key Fob
A key fob is another small and simple project for kids. It can be personalized and is practical for daily use.
Materials Needed:
- Thin macrame cord
- Key fob ring
- Scissors
- Tape
Instructions:
- Cut two cords about 12 inches each.
- Fold in half and attach to the key fob ring with a lark’s head knot.
- Tie square knots along the cords.
- Finish with a knot and trim excess cord.
Tips:
- Beads can be added for decoration.
- Encourage kids to gift the key fob to family members.
- This project can be completed in under 20 minutes.
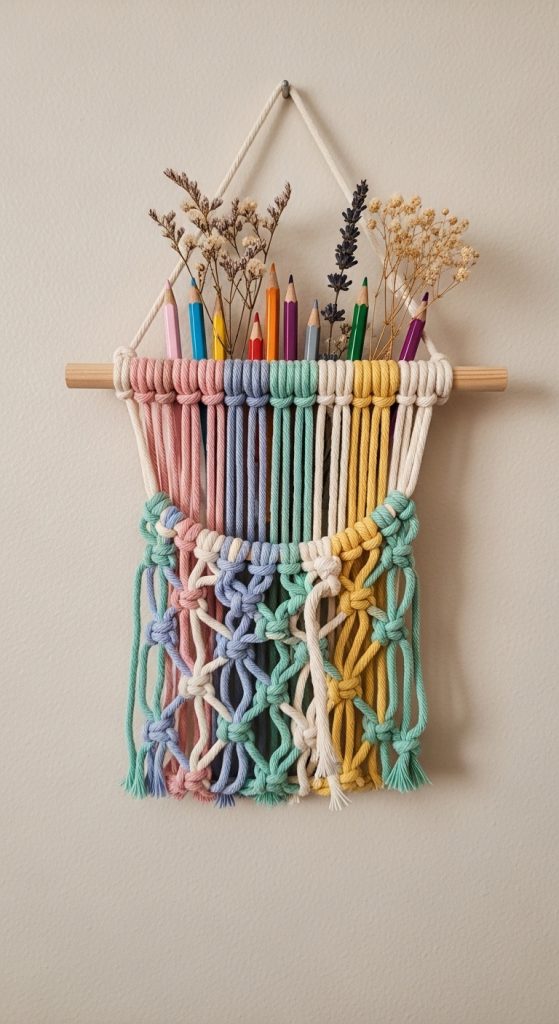
8. Macrame Wall Pocket
A macrame wall pocket is a small hanging pouch that can hold lightweight items like pencils or flowers.
Materials Needed:
- Macrame cord (3-4mm)
- Small wooden dowel
- Scissors
- Tape
Instructions:
- Cut six cords, each about 24 inches long.
- Fold in half and attach to the dowel with lark’s head knots.
- Create a simple square knot pattern, leaving space at the bottom for the pocket.
- Tie the bottom cords together to form the pocket.
Tips:
- Kids can use colorful cords or add beads.
- This project encourages creative storage solutions.
- Perfect for hanging small items in their room.
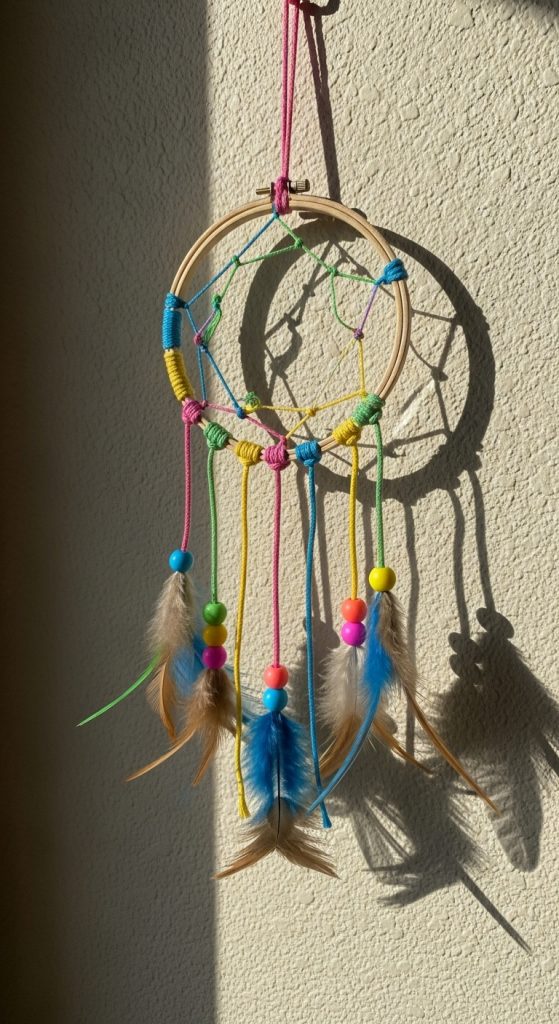
9. Macrame Dreamcatcher
A mini macrame dreamcatcher is a creative project that combines macrame and decorative elements like feathers and beads.
Materials Needed:
- Thin macrame cord
- Small embroidery hoop
- Feathers and beads
- Scissors
Instructions:
- Attach cords to the embroidery hoop using lark’s head knots.
- Make square knots around the hoop in a circular pattern.
- Attach beads and feathers at the bottom.
- Tie off the ends neatly.
Tips:
- Encourage kids to use their favorite colors.
- Dreamcatchers can be hung in bedrooms or gifted to friends.
- This project introduces circular knotting techniques.
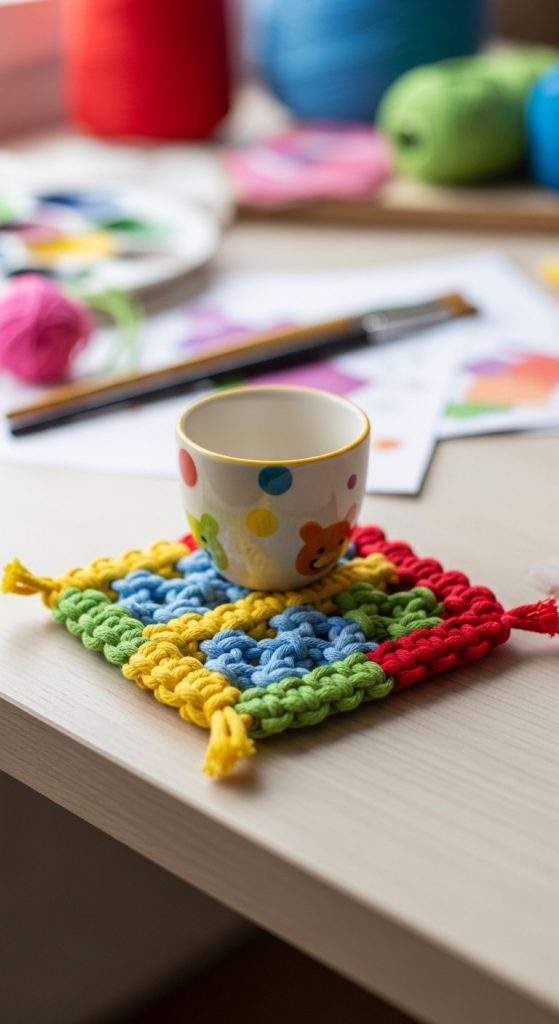
10. Macrame Coaster
A simple macrame coaster is a practical project that allows kids to use patterns creatively.
Materials Needed:
- Macrame cord (3mm)
- Scissors
- Tape
Instructions:
- Cut four cords, each about 12 inches.
- Tape cords to a flat surface.
- Create a square knot pattern until the desired size is reached.
- Tie a finishing knot and trim the ends.
Tips:
- Kids can make sets of coasters in different colors.
- This project teaches symmetry and pattern repetition.
- Finished coasters can be used at home or gifted.