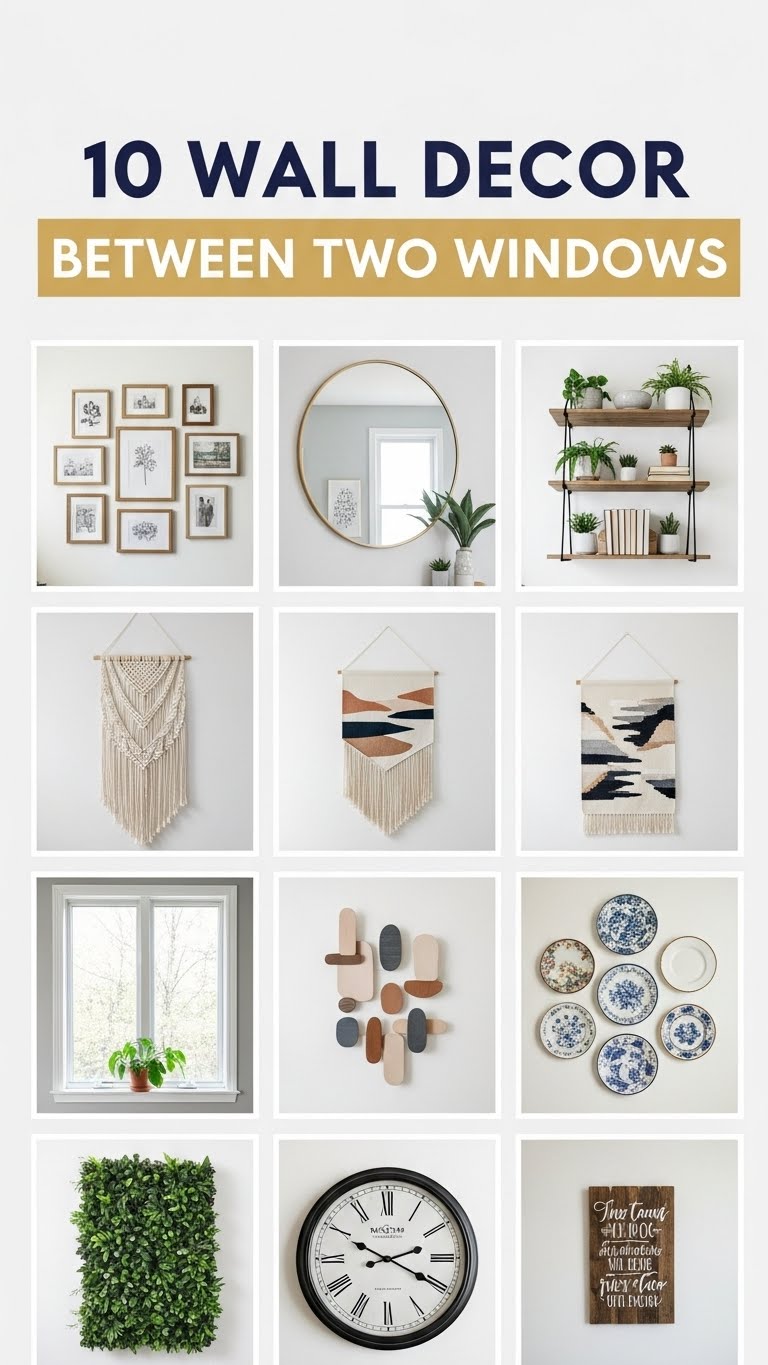
Decorating the wall space between two windows can be challenging because it is often a narrow or awkward area. However, this space presents a unique opportunity to add personality and style to a room. When designed thoughtfully, the area between windows can become a focal point rather than an afterthought. Whether your style is modern, traditional, minimalist, or eclectic, the right wall decor can enhance the room’s aesthetics and make the space feel balanced.
Before starting, it is important to plan carefully. Measure the wall space between the windows to ensure that any decor fits well without looking cramped. Consider the height of the windows, the style of the room, and the existing color palette. Preparation materials like nails, screws, measuring tape, a level, hooks, or adhesive strips can be useful depending on the type of decor you choose. You can also include lighting elements, artwork, shelves, or decorative mirrors to add depth and visual interest. In this guide, we explore ten creative ideas for decorating the wall between two windows, along with tips on materials, placement, and styling.

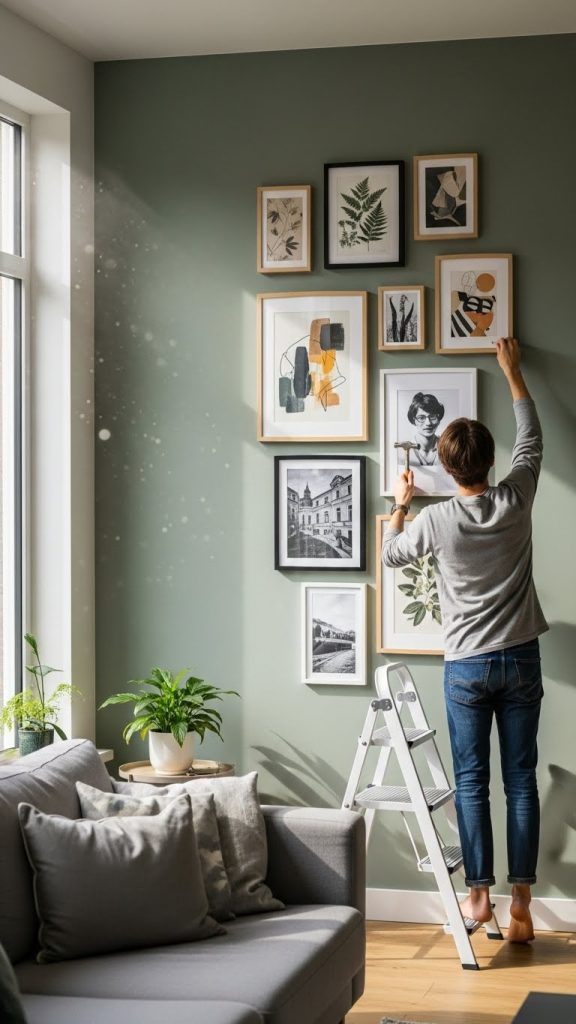
1. Hanging a Vertical Gallery Wall
Creating a vertical gallery wall is a stylish way to fill the space between two windows. Choose a series of artwork, framed photos, or prints that share a common theme or color scheme. Arrange them vertically to draw the eye upward, making the room feel taller and more spacious.
Before hanging, measure the width between the windows and select frames that fit comfortably without overcrowding the space. Use a level and pencil to mark the positions of each frame. You can choose a mix of sizes for an eclectic look or uniform frames for a cleaner, modern style. Lightweight frames can be hung with adhesive strips, while heavier ones may need screws or wall anchors.
Gallery walls offer flexibility because you can rotate or replace artwork whenever you want. This method works well in living rooms, bedrooms, or hallways, and the vertical arrangement balances the space between the two windows while creating a visually appealing focal point.
Materials Needed: Frames, prints/photos, measuring tape, level, nails/hooks, pencil
2. Installing Floating Shelves
Floating shelves are a practical and decorative solution for narrow spaces between windows. They provide storage and a display area without overwhelming the wall. You can use them to showcase plants, books, small sculptures, or decorative objects.
Measure the wall space carefully to determine the number and length of shelves that will fit. Mount shelves at eye level or slightly above to maintain visual balance. Choose shelves in a color or finish that complements your furniture and walls. For a minimalist look, keep decorations simple and uncluttered. For a more vibrant style, layer decorative items with varying heights and textures.
Floating shelves also allow for seasonal decor updates. In the living room, you can display candles or figurines; in the kitchen, small jars or spice containers can be stylish and functional. Ensure that shelves are properly secured to the wall, especially if placing heavier items on them.
Materials Needed: Floating shelves, wall anchors, screws, drill, level, decorative items

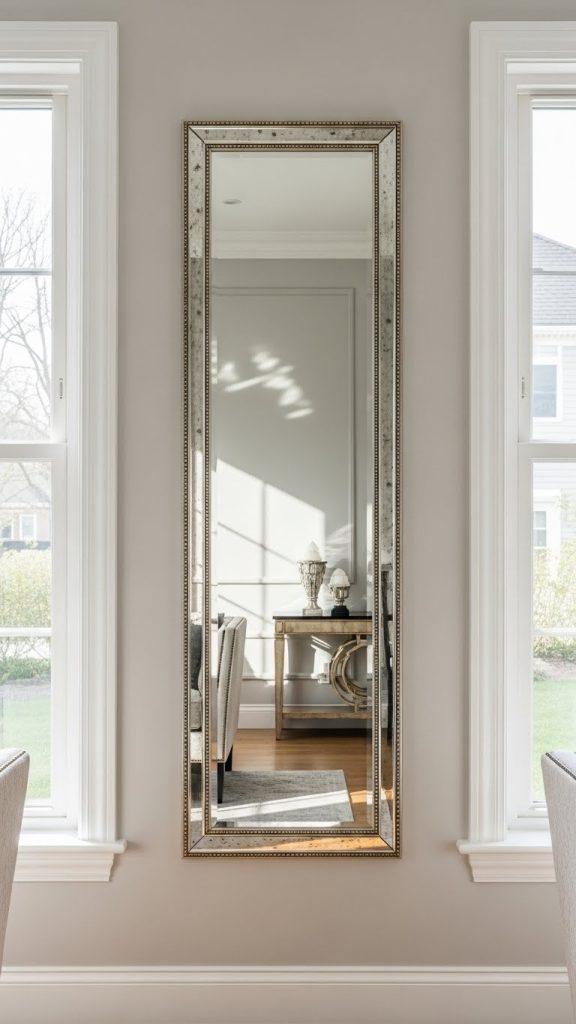
3. Adding a Decorative Mirror
A decorative mirror between two windows can enhance light, create the illusion of more space, and add elegance to the room. Choose a mirror shape that complements the wall dimensions, such as an oval, round, or rectangular design.
Mirrors reflect natural light from the windows, brightening the area and making the room feel more open. You can also select a frame style that matches your room’s decor, from ornate vintage frames to sleek modern designs. Consider hanging the mirror at the center between the windows for balance or slightly offset for an artistic effect.
If the wall space is narrow, choose a tall and slim mirror rather than a wide one. Mirrors also work well as part of a gallery arrangement when paired with small artworks or wall sconces. Ensure the mirror is securely fastened using proper wall anchors, especially if it is large or heavy.
Materials Needed: Decorative mirror, measuring tape, wall anchors, screws, level
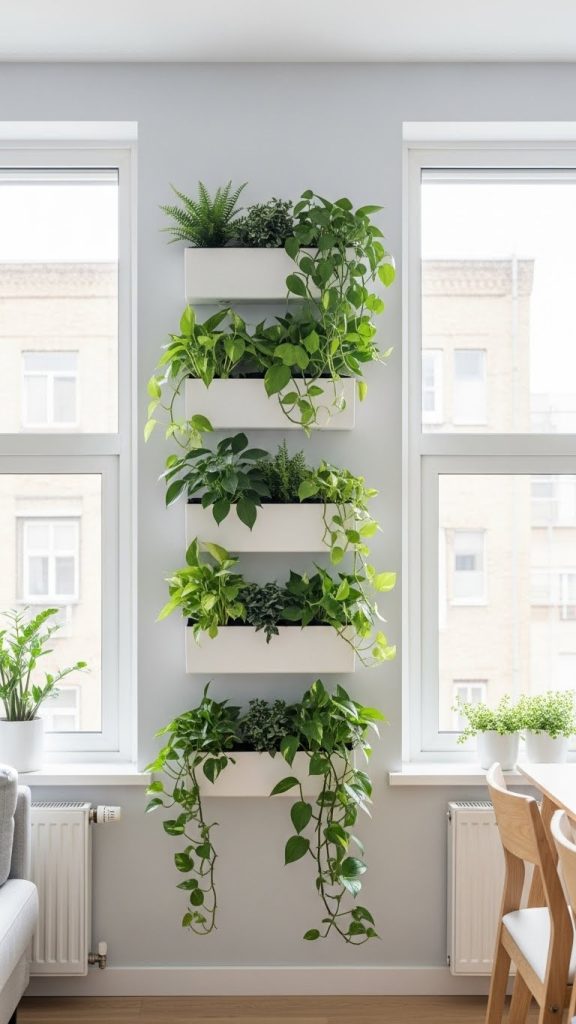
4. Vertical Planter Display
Using vertical planters or wall-mounted plant holders can bring greenery and freshness to the space between two windows. Plants add texture, color, and life to any room while creating a natural focal point.
Select plants that suit the room’s lighting conditions. For areas with direct sunlight, choose succulents or cacti. For low-light rooms, opt for ferns, pothos, or snake plants. Vertical planters can be mounted in a stacked arrangement or evenly spaced for a clean, organized look.
Ensure planters are lightweight if using wall-mounted options. Use a tray or catchment system for watering to prevent damage to the wall or windowsill. Greenery also works well in combination with decorative shelves or artwork to create a layered effect.
Materials Needed: Wall planters, screws or hooks, indoor plants, water tray, measuring tape
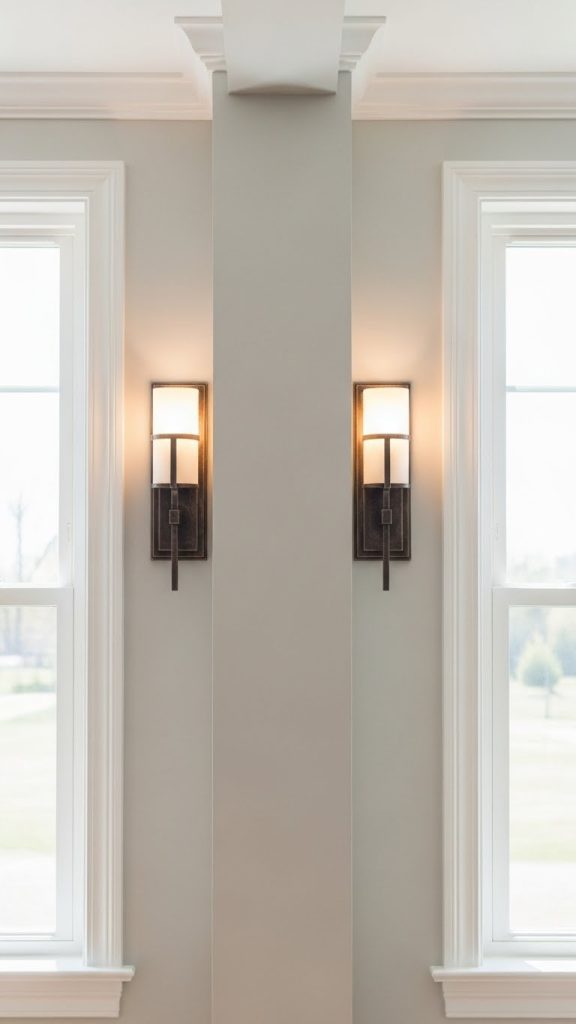
5. Decorative Wall Sconces
Wall sconces are a functional and stylish way to decorate the space between two windows. They add soft lighting, create ambiance, and serve as a decorative element. Choose sconces that complement the room’s overall style, such as modern metal designs or vintage-inspired fixtures.
Position sconces at eye level or slightly above to ensure even lighting. Consider symmetrical placement with a matching sconce on each side of the wall space. Wall sconces can be wired for electricity or battery-operated for convenience.
Adding sconces not only enhances the aesthetic but also provides practical lighting for reading corners or accenting artwork. Pairing sconces with framed art or a mirror between the windows can create a cohesive and stylish look.
Materials Needed: Wall sconces, screws, drill, level, batteries or wiring
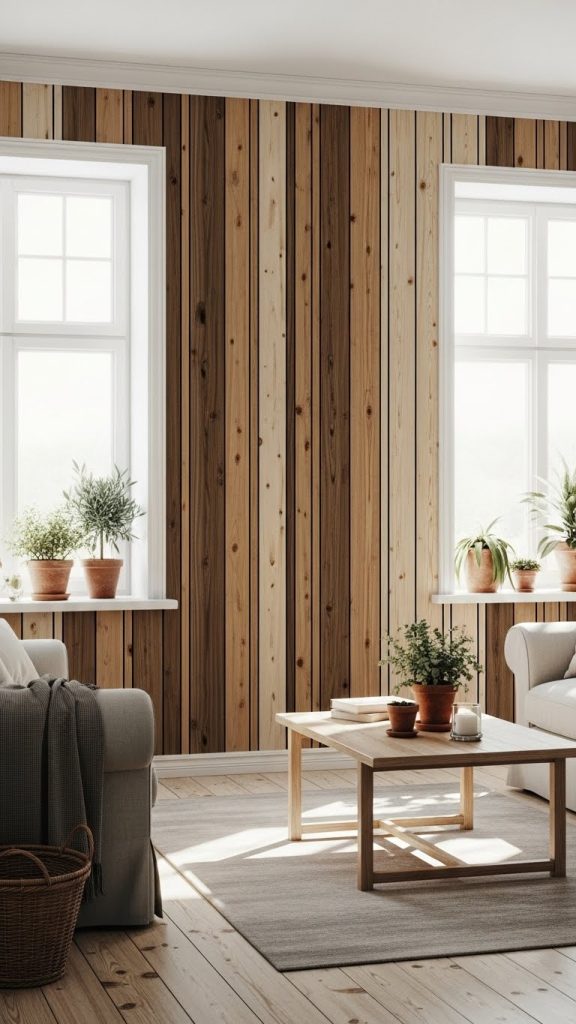
6. Vertical Wooden Paneling
Installing vertical wooden panels between two windows creates texture, depth, and a rustic charm. Wood can be stained, painted, or left natural to match the room’s design. This approach works especially well in modern, farmhouse, or Scandinavian interiors.
Measure the wall carefully to cut panels to the appropriate width. Panels can be nailed, glued, or mounted using brackets depending on their weight. For added interest, consider mixing different wood tones or widths. Vertical panels draw the eye upward and make the ceiling appear taller, enhancing the room’s overall proportions.
Decorative accents such as small shelves, hooks, or artwork can be added on top of wooden panels to personalize the space further. This method also provides a durable and long-lasting solution for wall decoration.
Materials Needed: Wooden panels, nails/screws, level, saw, paint or stain (optional)
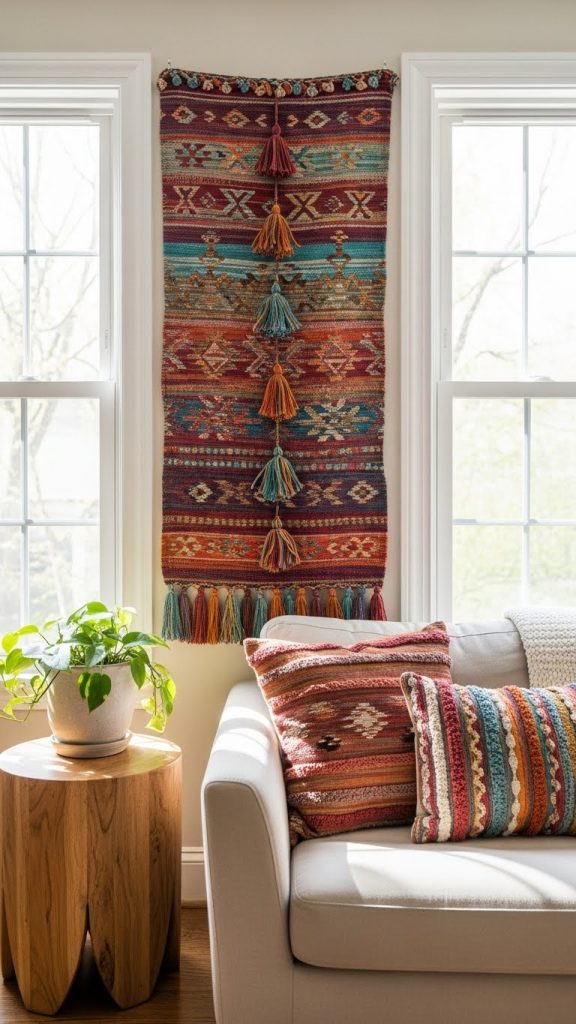
7. Hanging a Tapestry or Fabric Art
A tapestry or fabric wall hanging adds color, pattern, and softness to the wall space between windows. This approach works well in bohemian, eclectic, or traditional interiors. Choose a design that complements the room’s color scheme.
Select a lightweight fabric to avoid excessive weight on the wall. Use a rod, hooks, or a dowel to hang the tapestry neatly. Ensure the width fits within the wall space without overlapping the windows. Fabric art can also be layered over a painted accent stripe or wall panel for added dimension.
Tapestries are versatile and can be changed seasonally or whenever you want to refresh the decor. They also absorb sound, helping to make rooms feel cozier. Consider pairing with plants, small mirrors, or framed artwork to complete the look.
Materials Needed: Tapestry/fabric, rod or dowel, hooks, measuring tape
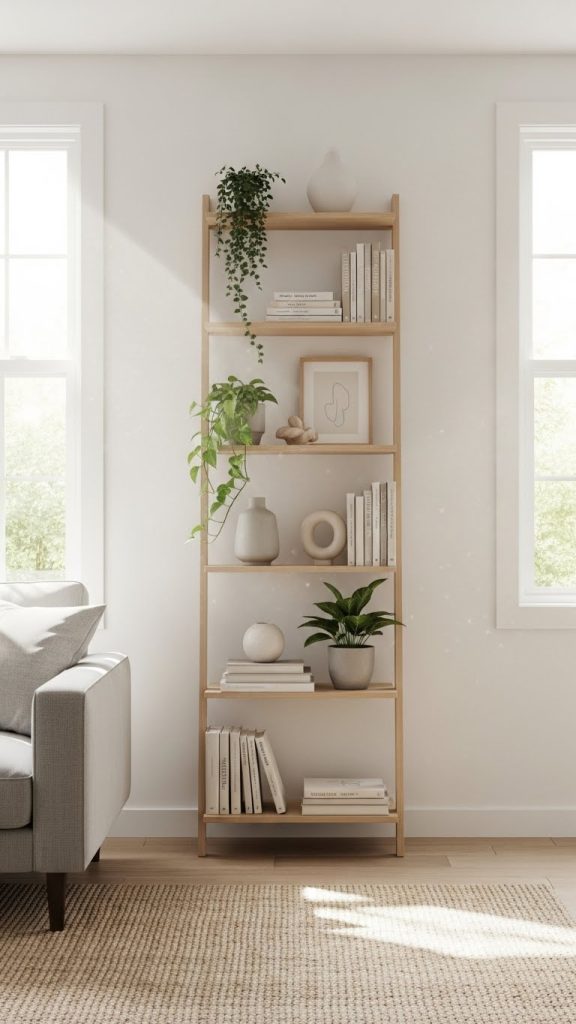
8. Installing a Slim Bookcase or Ladder Shelf
A slim bookcase or ladder shelf fits perfectly between two windows, especially in narrow spaces. It provides both storage and a display area for books, plants, or decorative items. Choose a style and finish that matches your room, from minimalist metal frames to classic wooden designs.
Measure the wall space to ensure the shelf fits comfortably. Place heavier items on lower shelves and lighter decor on upper shelves to maintain balance. Ladder shelves leaning against the wall create a casual look, while fixed bookcases provide a more structured appearance.
This approach is ideal for living rooms, home offices, or bedrooms. It maximizes unused wall space while adding character and functionality. You can also decorate the top with small sculptures, photo frames, or potted plants to enhance visual appeal.
Materials Needed: Slim bookcase or ladder shelf, measuring tape, decorative items
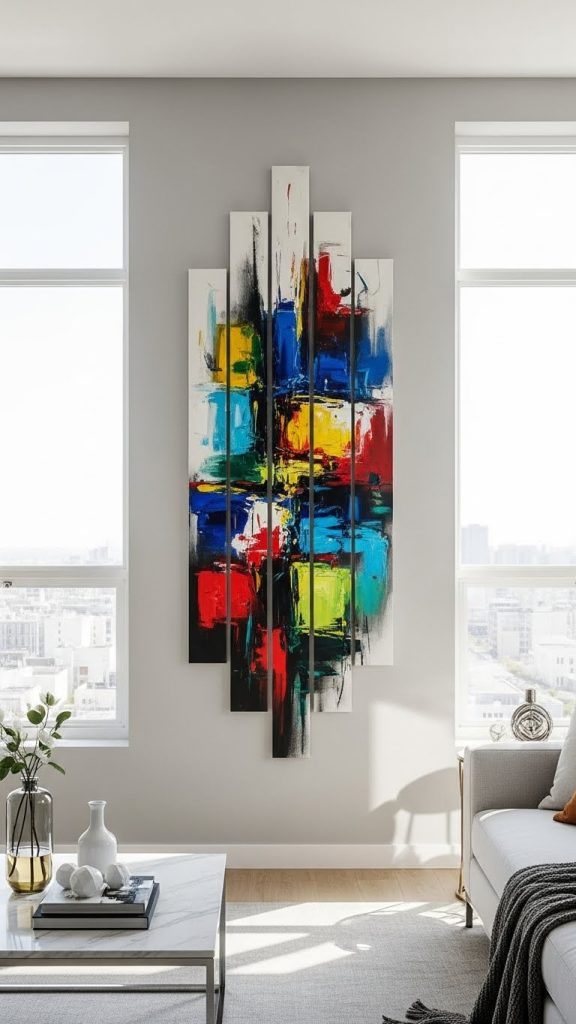
9. Vertical Art Panels
Using vertical art panels or canvas strips is a modern way to decorate the wall space between windows. These panels can be painted, printed, or handcrafted to reflect your style. Vertical alignment draws attention upward and balances the narrow wall space.
Select multiple panels with complementary designs or colors. Arrange them evenly, leaving a small gap between each panel. Mount panels using nails, screws, or adhesive hooks depending on their weight. Vertical panels work well in contemporary or minimalist interiors and can be paired with other decor elements such as sconces or mirrors.
Art panels are flexible and can be replaced or rearranged easily, allowing for seasonal updates or thematic changes. They create a cohesive and stylish focal point that enhances the room’s overall design.
Materials Needed: Art panels/canvases, nails/hooks, level, measuring tape
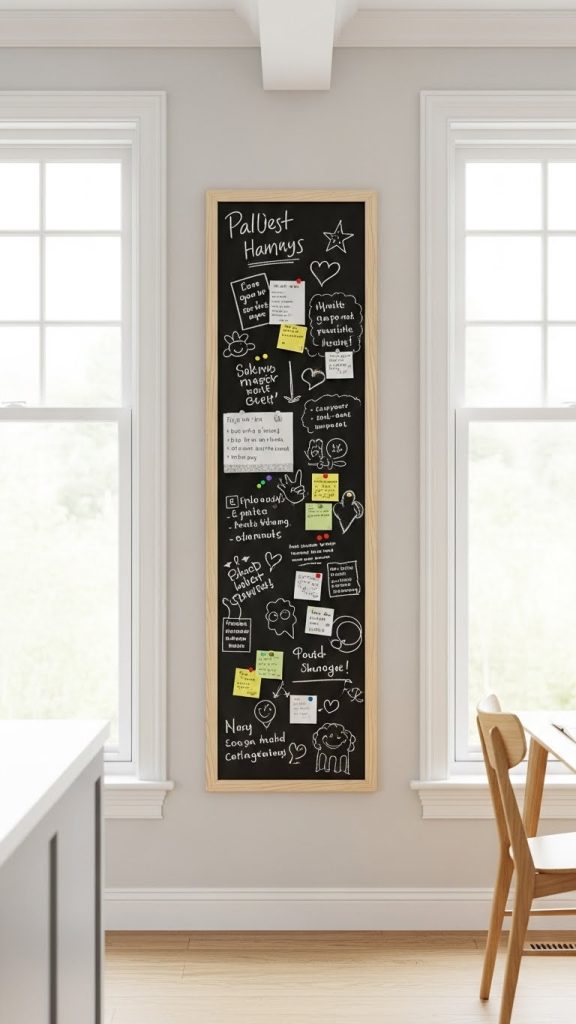
10. Creating a Vertical Chalkboard or Memo Board
A vertical chalkboard or memo board is a practical and creative way to decorate the wall between two windows. It adds function and style, especially in kitchens, home offices, or kids’ rooms.
Choose a board that fits within the wall space without touching the windows. Mount it securely using screws or wall anchors. Chalkboards can be used for notes, drawings, or inspirational quotes, while cork or magnetic boards allow pinning photos and reminders.
You can frame the board with wood, metal, or painted trim to match your decor. Combining a vertical board with small shelves or hooks can enhance organization while keeping the area visually interesting. This idea is both practical and decorative, adding personality and interactivity to the wall space.
Materials Needed: Chalkboard, corkboard, or magnetic board, frame (optional), screws/wall anchors, chalk or pins